As of April 1, Making Stories is closed. Thank you for your support all these years!
As of April 1, Making Stories is closed. Thank you for your support all these years!
Spinning Fiber
Notions & Gifts
Books, Magazines & Patterns
About Us
We're here to help you stitch sustainability into every aspect of your making.
With our carefully curated selection of non-superwash, plastic-free yarns and notions, we have everything you need to get started on your next project - and the one after that.
Here's to a wardrobe of knits we love and want to wear for years to come!
Our Sustainability Pledge

Our Blog
Our Podcast
The Making Stories Collective
Swatching For Success
April 21, 2021 7 min read 1 Comment
I know, could I have picked a cornier title?! The thing is, corny or not, the success of a new cast-on often lies in a small square of fabric you create before you even cast on your lovely new WIP.

For years I didn't swatch correctly, and I think that was probably because I didn't enjoy doing it. It was the thing I had to do before I got to cast on my new fun project and it took up precious yarn. I just wanted to be able to get on with knitting the actual pattern, and I know a lot of other knitters feel the same way. But after numerous ill-fitting FO's laying unworn in the wardrobe, I finally took the time to knit usable, reliable swatches, and you know what, now I enjoy it!
If you are firmly in the anti-swatch camp, or if you don't mind making them but find you don't always get the most reliable information from them, then I hope you find this post helpful and that it gives you a little more enthusiasm for swatching. So without further ado, let's swatch!
Why is swatching important?
Swatching is such an important step into creating a garment that you love and fits. In one square of fabric is all the information you need to know how your FO will fit, feel and look. How does it do that? Let's take a look:
-
Fit: Knowing what size to knit and what measurements your finished project will be will depend on the gauge you are working to, and the only way to know that is to swatch before you begin. To read more about gauge check out our post 'Getting Gauge...'.
-
Feel: Our swatch will show us the final fabric of our new sweater. Yarn in a ball or skein can feel very different once it has been knit and washed, and knowing how the yarn we are working with behaves after washing will eliminate any surprises down the road. The feel also goes hand in hand with the gauge, so again, read 'Getting Gauge...' for more details!
-
Look: Not every yarn will work for every design or stitch pattern, so working up a swatch first will let you see exactly how it looks and if it gives you the look you want.*
*We'll be chatting about this more in the next few months!
How big should your swatch be?
I know it's tempting to go smaller here, but bigger really is better for several reasons:
-
You want to take your gauge measurements from an even section of knitting, so at the very least 5 inches square. Ideally, go even bigger. The reason is your stitches at the edge of your swatch tend to not be as even and will give you an inaccurate measurement. This is especially true for swatches in the round.
-
You want to give yourself enough knitting time to get into your natural flow. When you knit your new jumper, you won't be furiously knitting it to get it finished as quickly as possible. You'll probably be relaxed and not just focused on getting through it. Try to approach your swatch in the same way.
-
If there's a stitch pattern, you want to be able to see how it looks after it's been repeated a few times. For larger charts, I like to repeat them at least twice.
Blocking your swatch
As we've already said, our swatch should be able to tell you everything you need to know about how our FO will fit, feel and look, so it's important to treat your swatch in the same way you will treat your final piece to get accurate results. For example, if you normally use a wool wash, use it when you block your swatch, if you just use plain water, do the same with your swatch!
Before we get your swatch into its bath though, I have a favour to ask. Measure the row and stitch gauge right now and take a quick photo. It doesn't have to be anything fancy, and I'll explain why it's good to do this later in the post.
Ok, let's look at how to block our swatch!

Step 1: Soaking your swatch
Run a bowl or sink full of warm (never hot!*) water and add wool wash if you are using. Submerge your swatch in the water, and gently squeeze to remove any air bubbles caught in the fibres. Allow it to soak there for at least an hour. You want your swatch to be fully saturated with water.
*If you are working with untreated animal fibres, remember that hot water can cause them to felt!
Step 2: Remove excess water
Once your swatch has soaked and is completely wet, remove it from the water and very gently squeeze out some of the excess water. Next, I like to lay it flat on a towel and fold the towel around it, adding a little pressure to remove some more of the water.
Step 3: To pin or not to pin?
Now it's time to make a decision, do you pin your swatch? You might find it strange that I would even question this because most things we read about swatching say; knit it, soak it, and pin it out, but I think this can be a bit misleading. Remember we want our swatch to give us accurate information about our FO, so we need to treat it the same way we will treat our new garment. If you always pin out your knits after you wash them, then by all means do the same to your swatch, but if you generally just lay them flat, then do the same thing with your swatch.
For me, using pins will vary from project to project and mostly depends on the stitch pattern I'm using. For example, if I knit a simple stockinette sweater, I know I'll be laying it flat to dry with little to no pinning, so I'll do the same thing with my swatch. If I'm knitting something with a more complex stitch pattern that will benefit from a little pinning to even out and set the stitches, I'll pin my swatch in the same way.
Another situation where you may want to choose to pin is if you knit a lot of lace. Blocking is often when a lace pattern emerges as it allows it to open up, and pinning the fabric can help with this. The same goes for a decorative edge such as scallops, or if your finished piece has a particular shape that is created through blocking. The rule of thumb is if you're going to do it on your final sweater, do it on your swatch.
What not to do when pinning
The important thing to remember is if you are pinning your swatch, don't pin to get gauge. Manipulating or stretching your swatch and overly pinning to get it to the suggested gauge then will lead to inaccurate gauge information from your swatch and probably fit issues. This is something I did for years and I could never understand why, despite taking the time to swatch, my gauge was always different for my FO. Your swatch is much smaller than your finished sweater and forcing a small square of fabric into a specific gauge is much easier than doing the same thing to a full piece of clothing. Treat your swatch gently and let it tell you what the gauge is.
When to take gauge measurements
To get as much usable information out of your swatch as possible, I suggest measuring your swatch at two points in the swatching process; before you wash it and once it's 100% dry with any pins removed.
In the past, I used to measure the gauge in my swatch just as I pinned it - and remember, I used to pin to gauge - and before it was dry. No wonder the things I made didn't fit! My swatches would often contract once they were dry and off the blocking mat, something I'd only realise when my new sweater didn't fit and I was trying to work out why. You always want to take your final gauge measurements on a dry, relaxed swatch. I like to take it off the mat where it's been drying, shake it around a little and then lay it down flat again before I measure. I find this gives me the most accurate results.
So why take measurements before washing too? I find it helpful to know how much the gauge and fabric changes during blocking, and it can help you check that your gauge hasn't changed at all once you cast on your project. As your WIP hasn't been blocked yet, your gauge will already be different to the final measurement you took from your swatch, so it's helpful to know what your gauge was before blocking.
If you are knitting a sweater and can try it on at different points, it can also help any decisions you need to make when it comes to adjustments. For example, if you're knitting a top-down sweater with a circular yoke and try it on before separating for the sleeve and body, you may find yourself feeling like you want to add extra length. But, if you've measured your swatch before and after blocking and know that your fabric will grow in length after washing, you may not need to. Before adding more length, count how many rounds you've got in the yoke and calculate the final measurement using your final row gauge. You may find that blocking will give you all the length you need and avoid adding too much length to the yoke.
So that was a lot of information about swatching! I hope you have found this post helpful and it's maybe encouraged you to embrace swatching a little more if it's not something you love to do. As always, this is very much based on how I like to swatch so I'd love to hear your thoughts and tips on your own approach. If you'd like to share, be sure to comment below!
1 Response
Leave a comment
Comments will be approved before showing up.
Also in Blog
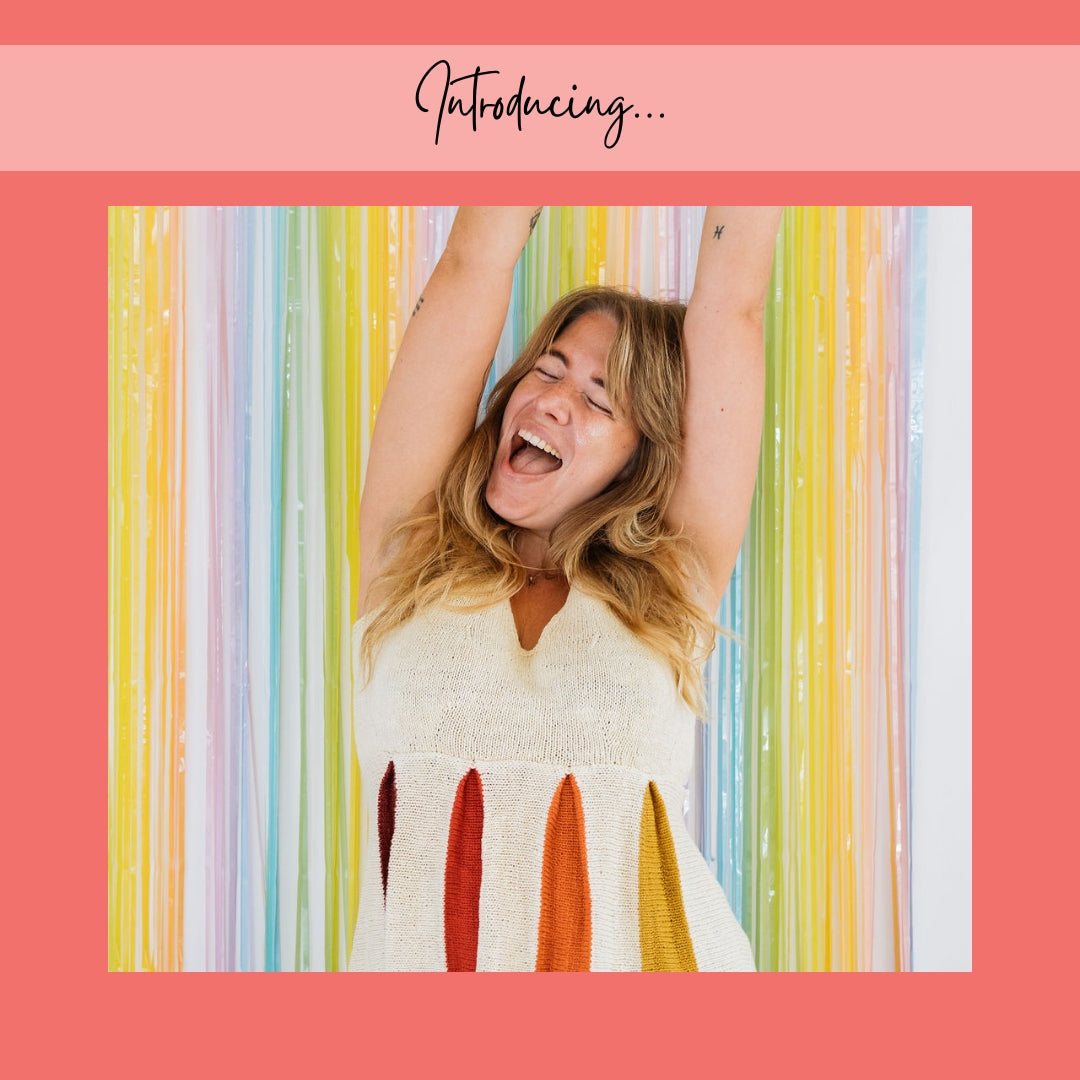
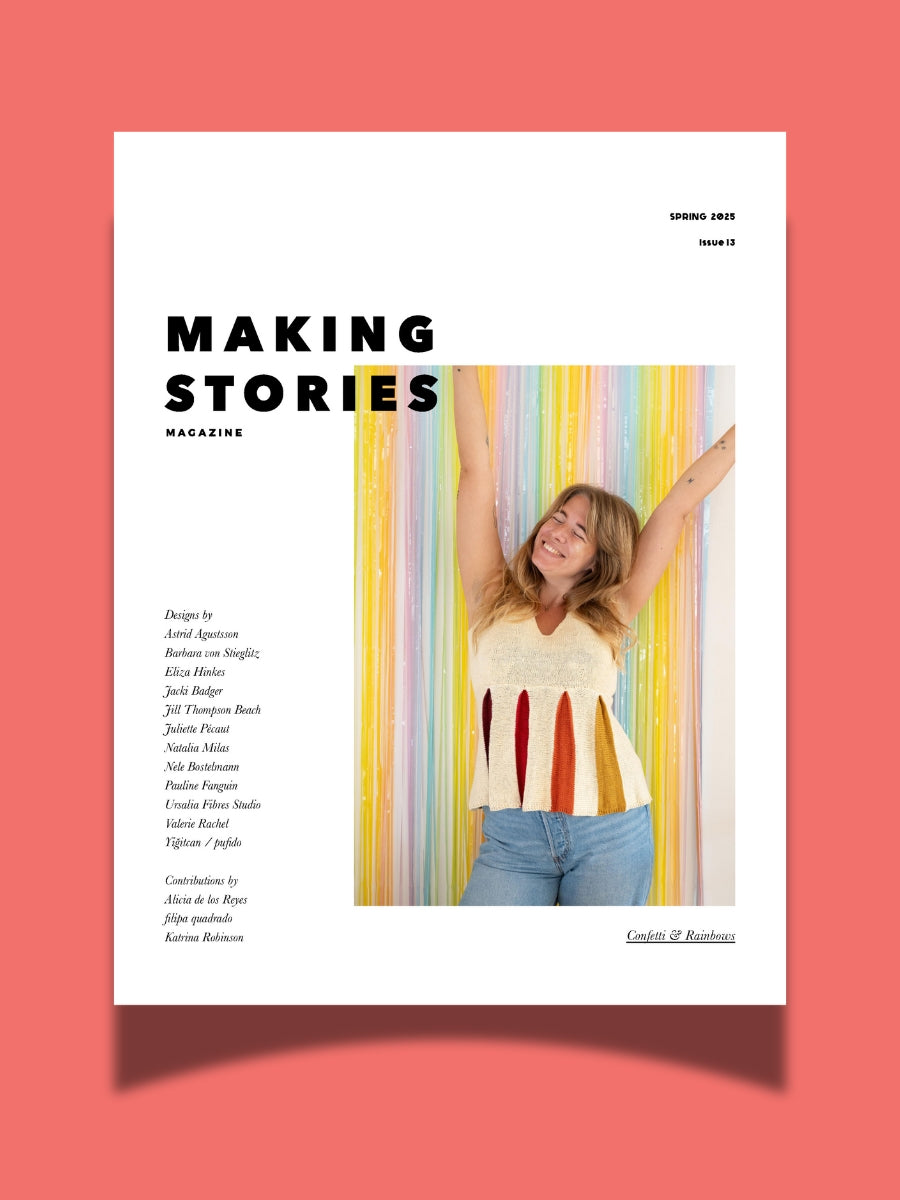
Issue 13 – Confetti & Rainbows | Official Pattern Preview
February 12, 2025 13 min read
Hi lovelies! The sun is out here in Berlin, and what better day to talk about one of the most joyful issues we've ever done than a brilliant sunny winter day – meet Issue 13, Confetti & Rainbows!
In Issue 13 – our Spring 2025 Issue – we want to play! Confetti and rainbows, unusually and unconventionally interpreted in 12 new knitwear designs – a journey through color, shapes, texture and materials.
Confetti made out of dried flowers, collected over months from bouquets and the road side. Sparkly rainbows, light reflecting. Gentle textures and shapes, echoing the different forms confetti can take. An unexpected rainbow around the corner, on a brick wall, painted in broad strokes.
New Look, Same Heart: The Story Behind Our Delightful Rebrand
January 16, 2025 4 min read 1 Comment
Hi lovelies! I am back today with a wonderful behind-the-scenes interview with Caroline Frett, a super talented illustrator from Berlin, who is the heart and and hands behind the new look we've been sporting for a little while.
Caro also has a shop for her delightfully cheeky and (sometimes brutally) honest T-Shirts, postcards, and mugs. (I am particularly fond of this T-Shirt and this postcard!)
I am so excited Caro agreed to an interview to share her thoughts and work process, and what she especially loves about our rebrand!
Thoughts on closing down a knitting magazine
November 19, 2024 12 min read 1 Comment
Who Is Making Stories?
We're a delightfully tiny team dedicated to all things sustainability in knitting. With our online shop filled with responsibly produced yarns, notions and patterns we're here to help you create a wardrobe filled with knits you'll love and wear for years to come.
Are you part of the flock yet?
Sign up to our weekly newsletter to get the latest yarn news and pattern inspiration!

Alex
May 11, 2021
Wow, awesome article! I found it really enlightening esp. your thoughts about taking notes and photos before AND after blocking and using this information for adjustments during the knitting process. Thanks a lot, dear!!