


We're here to help you stitch sustainability into every aspect of your making.
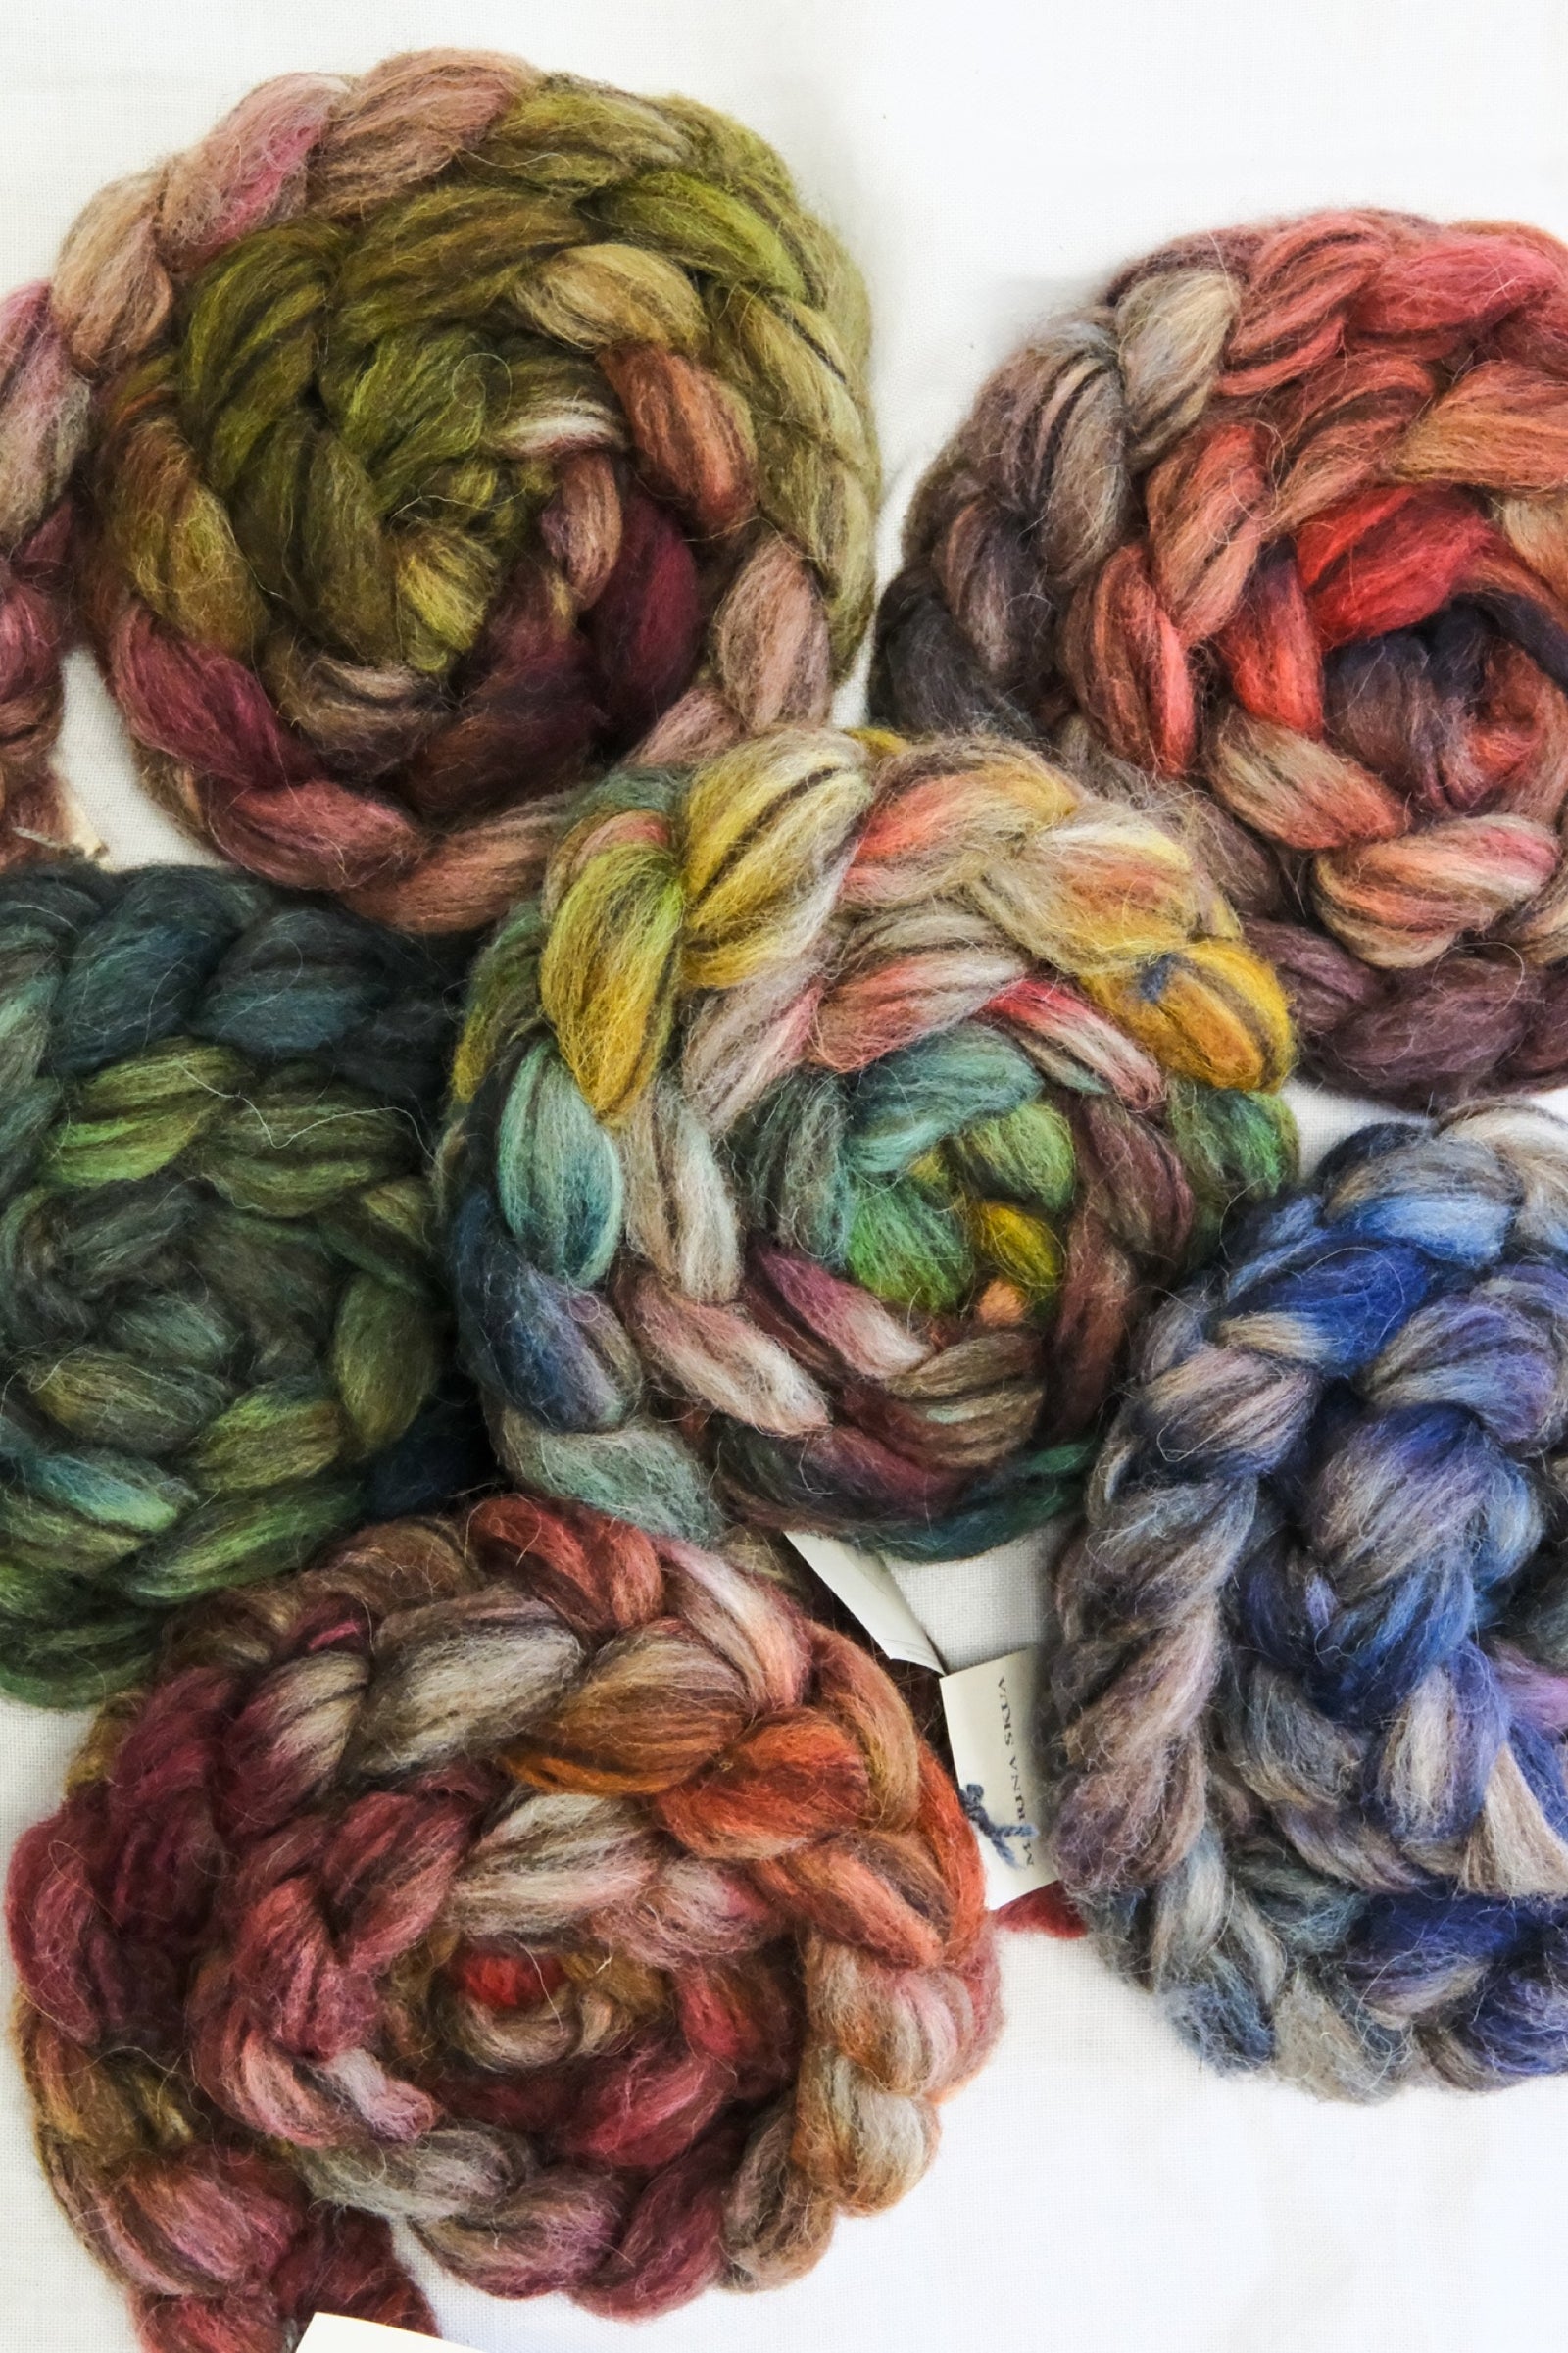
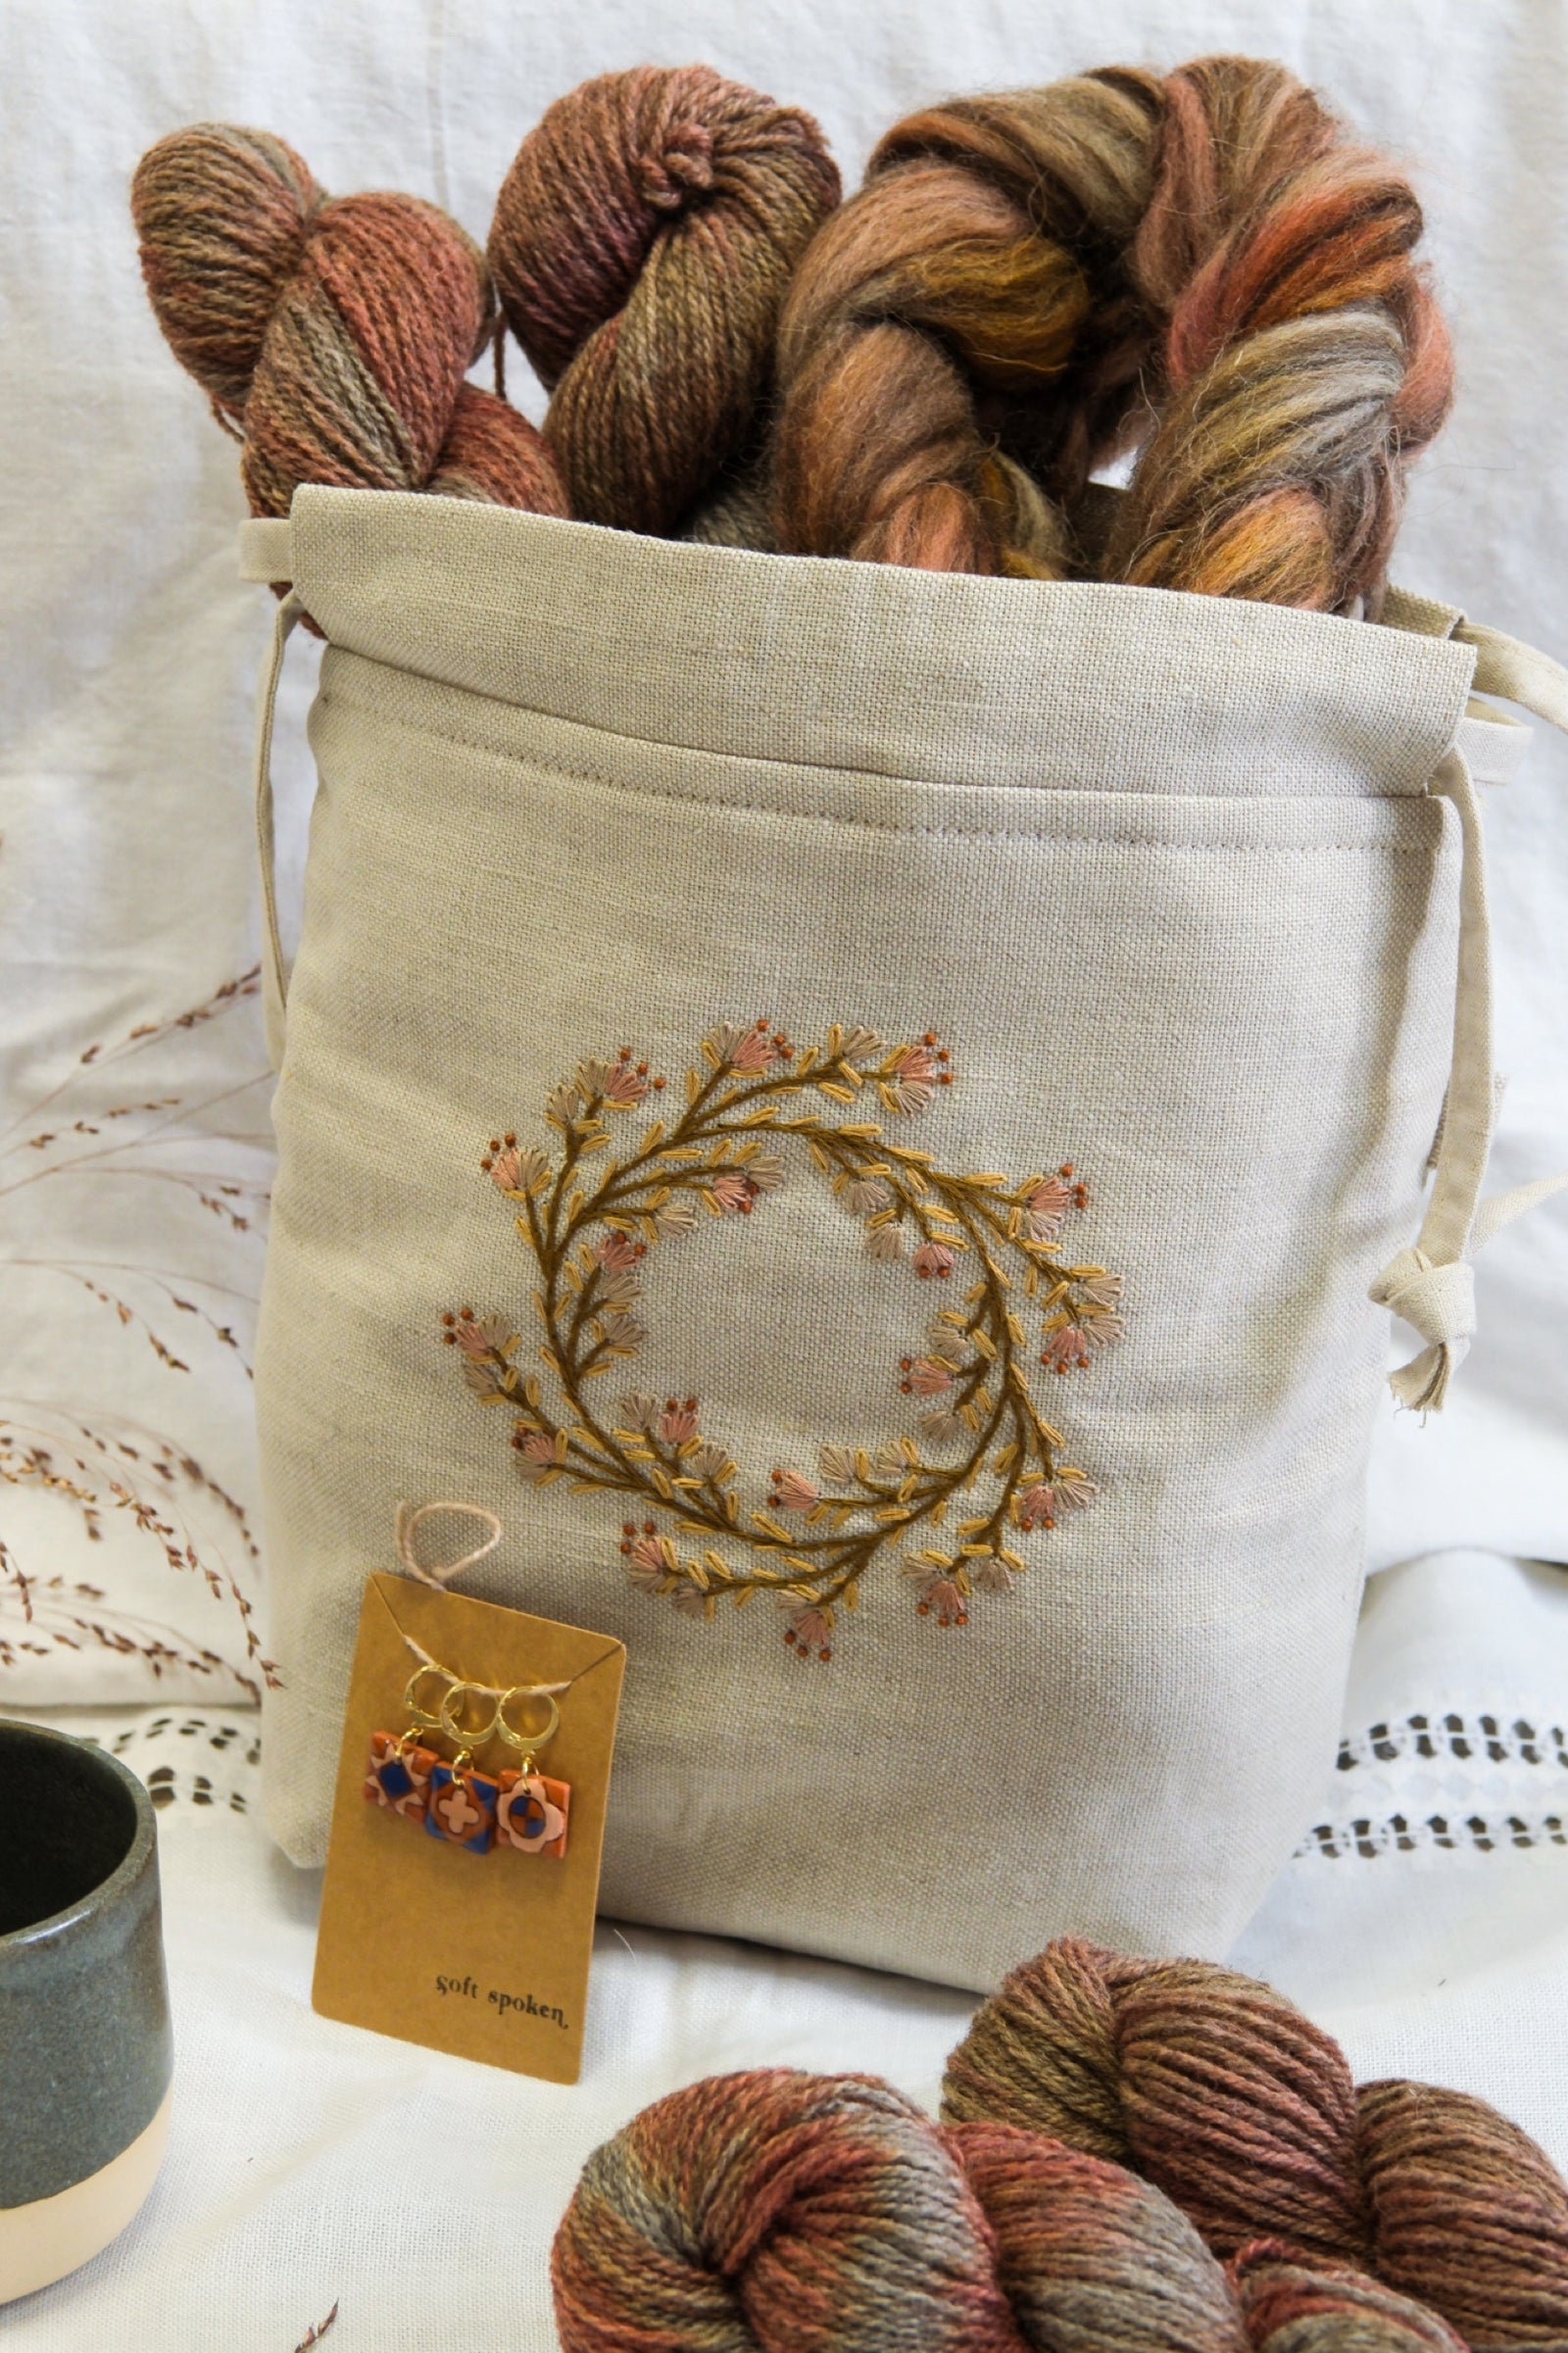
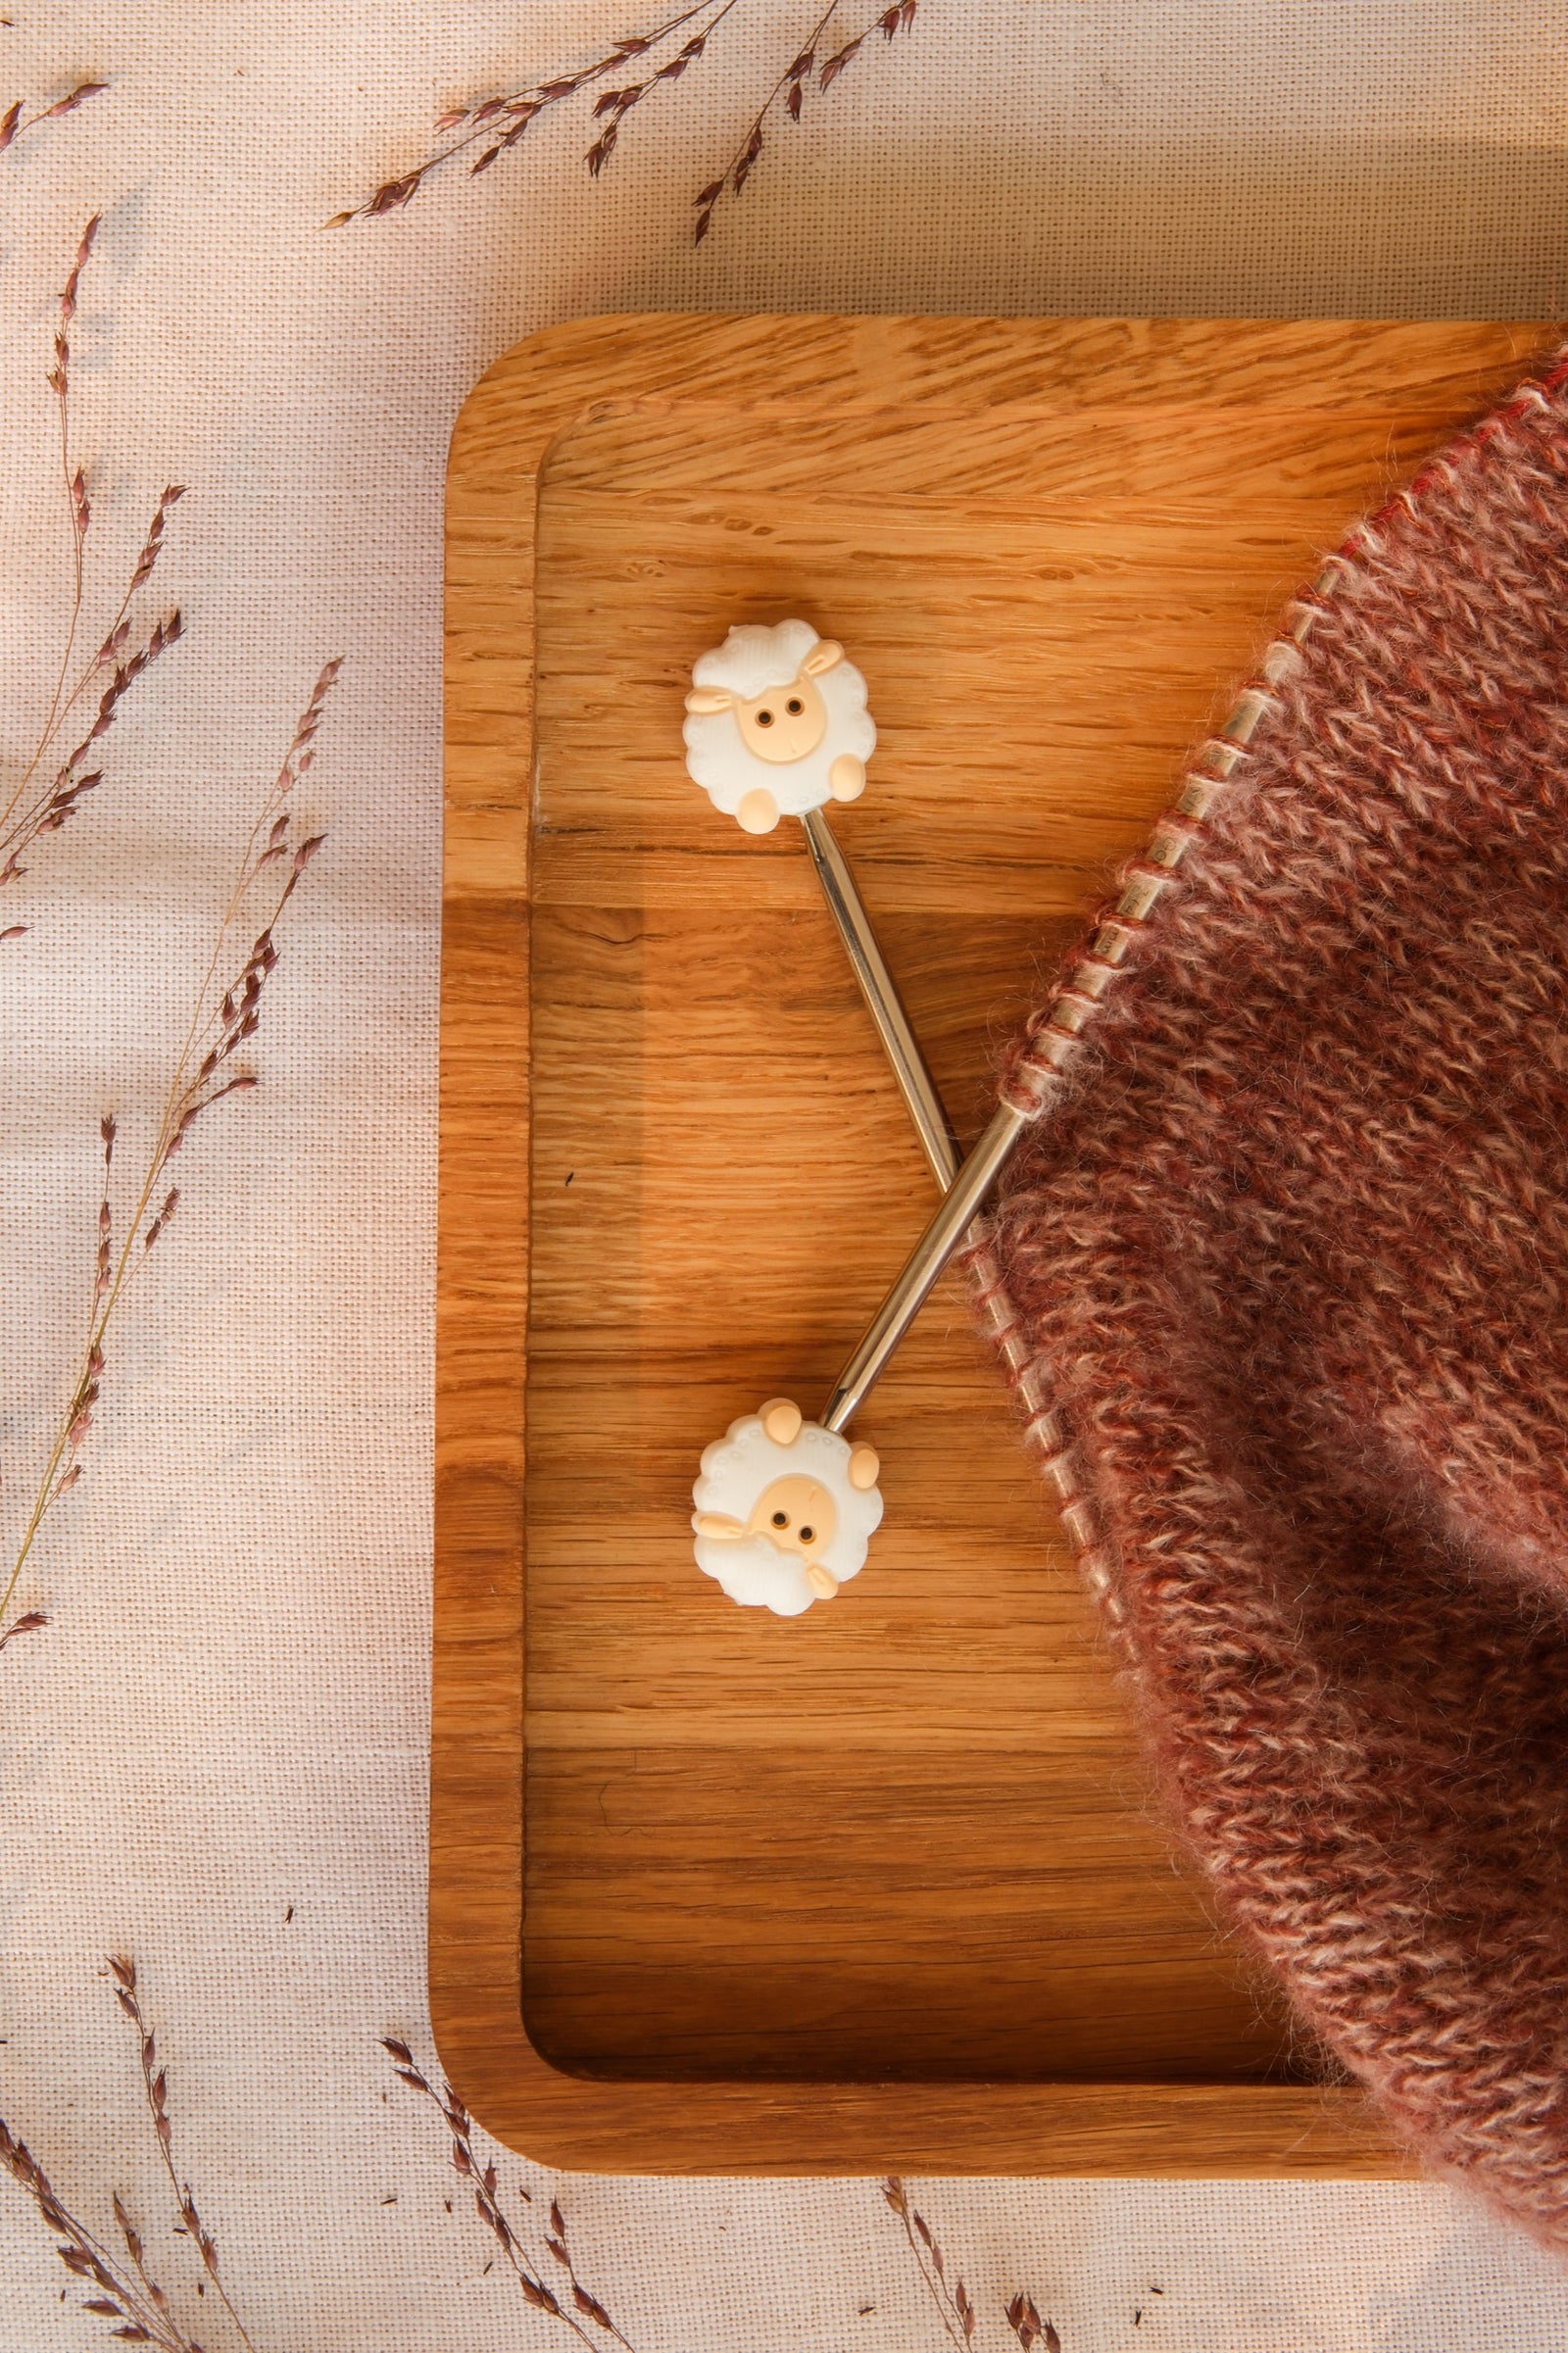
With our carefully curated selection of non-superwash, plastic-free yarns and notions, we have everything you need to get started on your next project - and the one after that.
Here's to a wardrobe of knits we love and want to wear for years to come!


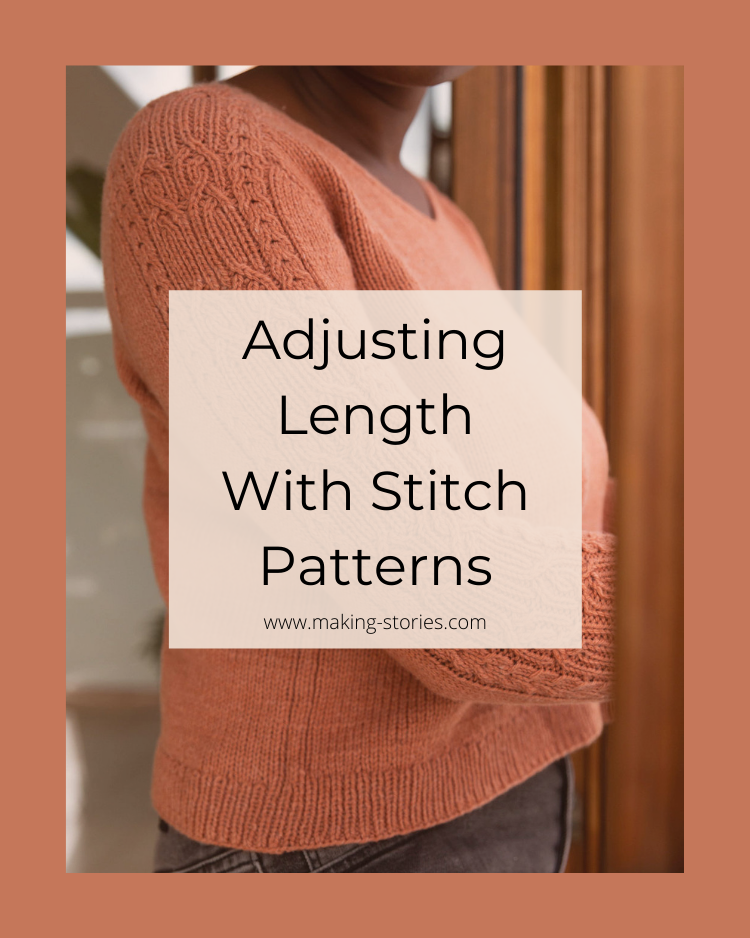
Adjusting Length With Stitch Patterns
Over the past few weeks, we've been looking at adjusting patterns, and the first step is to work out what you need to adjust and where that adjustment will be made. For those posts, we used a simple stockinette sweater as an example, but what happens when you're knitting something with a stitch pattern?
Just as when we were considering shaping when making adjustments, the key is to look at the kind of stitch pattern you are working with and seeing how it affects the length adjustments you wish to make. While each pattern will come with its own unique challenges. Let's look at some of the things to keep in mind.
Stitch pattern repeats and all over patterns
If you are working with a stitch pattern that repeats over just a few rows such as garter or moss stitch, then it's not too difficult to add the length you need, but as the pattern repeats get longer the more thought you may need to put into it.
When working with larger stitch repeats, I always like to start by adding or removing full chart repeats to see if it will work with the alteration I want to make. If it does, this is the ideal solution as I won't have to stop partway through a repeat.
If you need to stop partway through a repeat though, the thing to consider is if that will change the final look of the design and, if it does, if that is a problem. If you are working with something like a simple cable or colourwork repeat and it isn't transitioning into another stitch pattern (see more below!), then it may be completely fine to stop anywhere in the repeat once you have your desired length. Let's take Twisted Vines from Issue 5 as an example.

Twisted Vines by Joan Forgione, available in Issue 5
Twisted Vines features a saddle shoulder with this gorgeous cable panel of twisted stitches that runs down the entire sleeve and flows into the ribbed cuff. At first glance, altering the sleeve length here feels a bit daunting, but Joan Forgione who designed Twisted Vines has been super clever here. When we look closely at the pattern we see that we can begin the cuff after any odd number row of the chart as it will always flow into the 1x1 rib. This gives us the freedom to add or remove length at any point along the length of the sleeve without compromising the look of the sweater.
Dealing With Multiple Stitch Patterns
While our example above made it easy to move from the cable repeat to the ribbed cuff, it's not always that simple. Transitioning from one stitch pattern to another, particularly when it comes to having decorative edges or creating a flow into ribbed sections is something we see a lot in knitting patterns. I love seeing design details like that, but it does mean you have to be extra mindful when it comes to making alterations if you want to achieve the same look. Luckily, it should be pretty obvious in the pattern where you need to work to in the repeat to do this, whether that is after a full repeat, a specific row in a chart or a range of rows.

Bindweed by Ksenia Naidyon, available in Issue 5
Take Bindweed from Issue 5 for example. The sleeves have gorgeous cables that wrap around the entire sleeve and flow seamlessly into the 2x2 rib cuff. To achieve this you must begin knitting the cuff after completing a specific row in the chart. This can be more restrictive if you are looking to get a specific sleeve length and you may need to tweak your desired length a little. Another option here would be to also adjust the length of the cuff, but when it comes to adding and removing length to the edges of garments, it's good to keep in mind how that will look overall, especially if the cuff length is supposed to match the hem length.
Pattern Placement
So far we've been looking at stitch patterns that go the entire length of your knitting, but sometimes they are just placed at certain points in the design. Sometimes, this can mean making alterations a little simpler as there are usually sections of stockinette or stitch patterns with very small repeats where you can look at making your changes without disrupting the larger stitch pattern, but it's still important to think about what any changes you make do to the placement.

Espalier by Nataliya Sinelshchikova, available in Issue 3
Let's look at Espalier from Issue 3! The majority of Espalier is knit in Stockinette Stitch with a beautiful slip-stitch pattern at the lower body and sleeve. See how the slip-stitch sections on the body and sleeve line up perfectly? Any changes you make in the body will have to be mirrored in the sleeves if you wish to keep this design feature.
It's also important to use your gauge to double-check where any stitch patterns will land on you once you've made your adjustments. For example, if you were to greatly reduce the body length here by removing rows from the stockinette section, you may get the length you want, but the slip-stitch section would begin much higher up and you may not find that to your liking. (There is also a lot of shaping happening in the body here - waist and bust - that you would have to omit by doing this. See here for more on adjusting with shaping).
Another option would be to reduce the depth of the slip-stitch section by stopping after the first zig-zag motif has been worked. This is a pretty substantial design change, but it could be perfect for the fit and look you want! Just remember, you may want to do the same thing to the sleeves and, unless you are looking to significantly shorten the sleeves too, you probably won't be able to get the pattern to line up across the sleeves and body like they do in the photographed sample.
Stitch Patterns On A Circular Yoke
Colourwork and textured circular yokes have been a firm favourite with knitters for a long time, and they're not going away anytime soon. Getting the right fit can sometimes be tricky though, and we chatted about the best way to add length in part two of this blog series. There, we chatted about adding length after all the shaping was completed and before you separate the body and sleeves (if working top-down). This works for many people and makes adding/removing length to a colourwork/textured yoke really simple, as all the length is added after colourwork has been completed. But this method isn't for everyone, and another option is to distribute the changes you are making throughout the yoke shaping.
On a plain stockinette sweater, this is pretty straightforward. When dealing with colourwork or a charted stitch pattern that also incorporates shaping, it suddenly gets a bit tricky. Adding or removing extra rounds from a charted pattern will always alter the intended final look, but that doesn't mean it won't work. If this is something you wish to try, I suggest getting some squared graph paper and spending a little time trying out different ideas. You may begin to spot areas in the chart that can be repeated and removed without disrupting the pattern too much.
Final Thought
If making changes to stitch patterns leaves you feeling a bit nervous, then the best thing to do is to just try it out on a swatch first. I recommend this if you've made changes to a colourwork yoke as this way you'll see exactly how it will look on your finished garment.
I hope this post has helped when it comes to making length alterations, and if you have any tips or tricks yourself, please do share them in the comments below!
Leave a comment
Comments will be approved before showing up.
Also in Blog


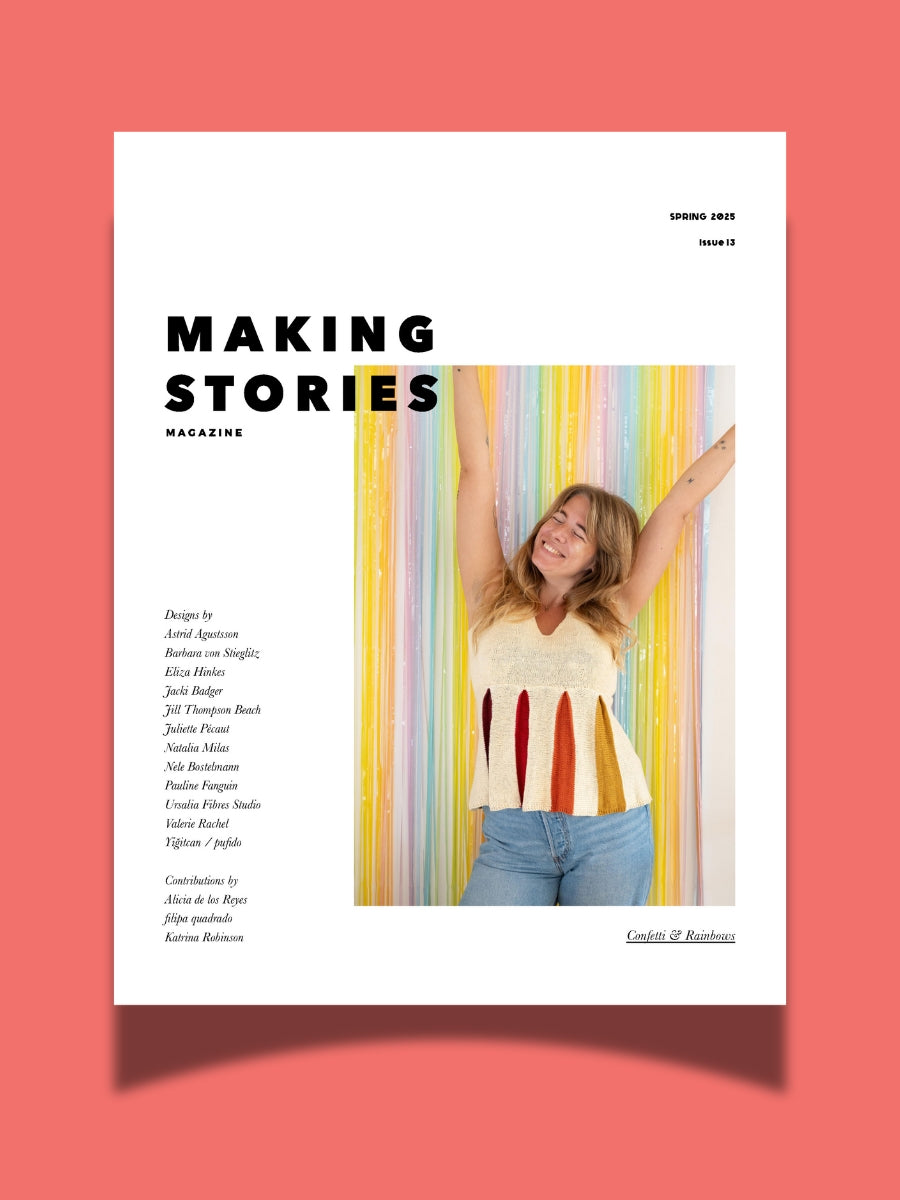
Issue 13 – Confetti & Rainbows | Official Pattern Preview
Hi lovelies! The sun is out here in Berlin, and what better day to talk about one of the most joyful issues we've ever done than a brilliant sunny winter day – meet Issue 13, Confetti & Rainbows!
In Issue 13 – our Spring 2025 Issue – we want to play! Confetti and rainbows, unusually and unconventionally interpreted in 12 new knitwear designs – a journey through color, shapes, texture and materials.
Confetti made out of dried flowers, collected over months from bouquets and the road side. Sparkly rainbows, light reflecting. Gentle textures and shapes, echoing the different forms confetti can take. An unexpected rainbow around the corner, on a brick wall, painted in broad strokes.


New Look, Same Heart: The Story Behind Our Delightful Rebrand
Hi lovelies! I am back today with a wonderful behind-the-scenes interview with Caroline Frett, a super talented illustrator from Berlin, who is the heart and and hands behind the new look we've been sporting for a little while.
Caro also has a shop for her delightfully cheeky and (sometimes brutally) honest T-Shirts, postcards, and mugs. (I am particularly fond of this T-Shirt and this postcard!)
I am so excited Caro agreed to an interview to share her thoughts and work process, and what she especially loves about our rebrand!
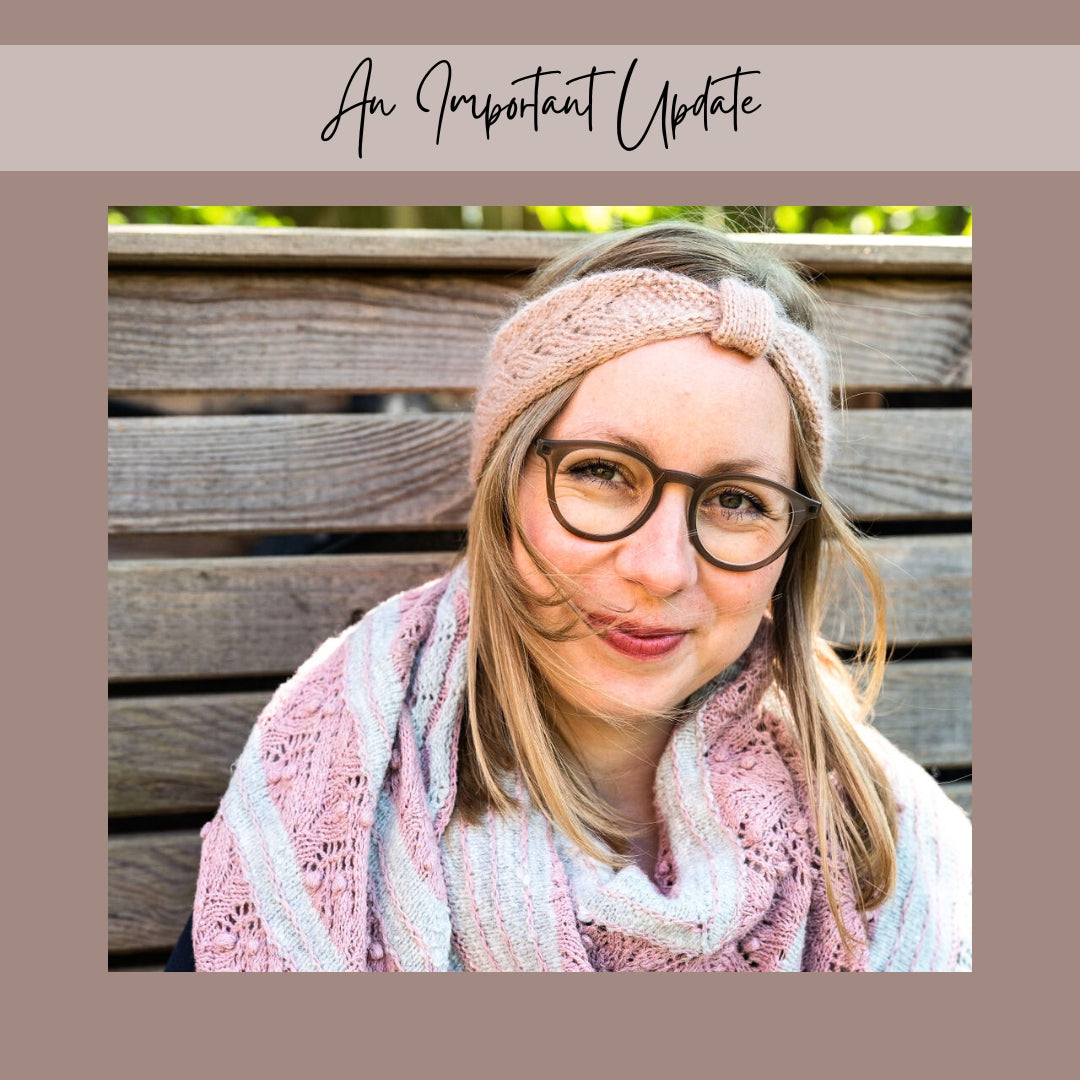

Thoughts on closing down a knitting magazine
As a lot of you might have suspected I have, at last, made the decision to definitely close down Making Stories Magazine after Issue 14, our 2025 Fall & Winter issue. This means we still have two issues to go - Issue 13, coming out in March (Confetti & Rainbows!!), and Issue 14, coming out in September. I wanted to share this decision with you bright and early as I don’t feel like holding this in when we publish our last Spring and then our very last Fall & Winter issue. I want to celebrate those issues, and the work that we have done over the last eight years, and I want to be able to share the bittersweet feelings that will inevitably come up when the list of “lasts” still do be done gets shorter and shorter.
Read More