As of April 1, Making Stories is closed. Thank you for your support all these years!
As of April 1, Making Stories is closed. Thank you for your support all these years!
Spinning Fiber
Notions & Gifts
Books, Magazines & Patterns
About Us
We're here to help you stitch sustainability into every aspect of your making.
With our carefully curated selection of non-superwash, plastic-free yarns and notions, we have everything you need to get started on your next project - and the one after that.
Here's to a wardrobe of knits we love and want to wear for years to come!
Our Sustainability Pledge

Our Blog
Our Podcast
The Making Stories Collective
How To Adjust Length In A Pattern
March 12, 2021 5 min read 1 Comment
Welcome to our first post where we look at altering patterns to fit your body. Today's post is all about adding or removing length - Why you would want to do it, and more importantly, exactly how you calculate it. When it comes to making pattern adjustments, adding and removing length is probably the most straightforward one to deal with, but it doesn't mean there aren't things to keep in mind.

Before we begin, adjusting the length of a project you are working on means having a good understanding of the gauge you are working at. If you are a little shaky with gauge, I recommend checking out last week's post written by Hanna Lisa - Getting Gauge & What To Do When You Can't Get Gauge. Reading that first will make this post that much easier to understand!
So why would you want to add or remove length in a pattern?
Have you ever finished a new project and excitedly put it on only to find that something just doesn't feel right? It's a little too tight under the arms, the sleeves are just a bit too short, the waist shaping is landing where your waist isn't, the hem is sitting in a weird place...I could go on and on.
All these things have happened to me in the past, and let's face it, they suck. BUT, this is where the magic happens, because with every 'mistake' we make we learn something new and get that much closer to understanding how we like our clothes to fit.
Hi, my name is Claire, and I have a surprisingly long torso and very little waist definition. I always add extra length to a yoke, often eliminate waist-shaping altogether and usually crop my sweaters because they look better with the high-waisted trousers and skirts that I like to wear. These are just some of the ways my own measurements and personal fit preferences don't always line up with a pattern I want to knit. Knowing how to adjust a pattern is awesome, but before you start making changes, you have to know what it is you actually want to change.

But how do you know what your fit preferences are?
So you know you're not 100% happy with the fit of your new FO, but how do you find out what is causing the issue so you don't fall into the same fit trap next time? The best place to start is by grabbing a favourite sweater. This doesn't have to be a handknit, just one that you feel comfortable in and love the fit of. Take the measurements for both garments and do a little comparison to try to pinpoint where your new FO is giving you issues. Perhaps there's a little more depth in the yoke or armhole in your old sweater and you like the extra room, or maybe the side length is that little bit longer and you prefer where the hem lands, or maybe you like your sleeves to finish just above your wrist. Whatever it is, make a note of it and the measurements you prefer, and next time you are knitting a sweater you'll know to double-check the finished measurements in the pattern for these areas. If the pattern's measurements don't quite suit you, you'll know you need to make some adjustments.
How to calculate length adjustments
Now we're getting to the technical stuff! So we know what our preferred length is, and we know that the measurements in the pattern we have chosen don't quite match, so how do we work out the adjustments we need to make? Grab your calculators, we're going to do maths!
Making this adjustment is actually pretty simple, it just comes down to adding or removing rows or rounds at certain points in the pattern where you want to make your changes. But how do you know how many rounds you need to add or remove?
For this post, we're going to keep things super simple. We're going to look at how to alter the side length measurement of a top-down stockinette sweater with no waist shaping. Once we've covered calculating the rows, we're going to go on to look at how to make these adjustments while also considering any shaping and stitch patterns your pattern has in the next two blog posts.
So, how do you know how many rows to add or take away? To answer this you need to know two things; The measurement you wish to work to, and your row gauge.
Let's say we're knitting a sweater with a side length of 45.25 cm / 17.75" and it says to knit 136 rounds to achieve this when working at the recommended gauge of 30 rows in 10 cm / 4". You have the same gauge as the pattern, but you'd prefer your body to be slightly longer at 47.5 cm / 18.75". Let's do some maths!
-
First, we find out how many rounds per cm: 30 rows √∑10 cm = 3 rows in 1 cm
-
Now we know how many rounds per cm, we can work out how many rounds you need to achieve your preferred body length by doing the following: 47.5 cm x 3 rounds = 142.5 rounds (round up to 143).
-
143 (your preferred number of rounds) - 136 (number of rounds in the pattern) = 7 extra rounds need to be worked!
Now let's use the same calculations to remove length in the same sweater. Instead of the hem landing on your hip, you'd prefer a more cropped look and the total length you are looking for is 38 cm / 15". We start by working out how many rounds in 38 cm. Remember, we're working at the same gauge as before, so we have 3 rounds per 1 cm.
-
38 cm x 3 rounds = 114 rounds
-
136 (number of rounds in the pattern) - 114 (your preferred number of rounds) = 22 rounds to remove from the pattern!
As far as the maths go, this is it! It really is as simple as that. BUT - we're not just knitting stockinette sweaters, and even though we know how to calculate how many rounds we need to add or take away, how do we decide where those adjustments are made and how do we deal with things like shaping and stitch patterns? That's what we will be covering over the next two blog posts, so please stay tuned.
Counting Rounds v Counting Length
Before I go, I just want to add one final thing. You'll notice in post that I talk specifically about calculating rounds as opposed to knitting until you reach a certain measurement. While there is nothing wrong with simply knitting until you reach the point you are happy with (I often do this!), and many patterns will include an option to knit until you reach your desired length, it's always important to be able to work our exactly how many rounds you need to add or takeaway if you are looking to achieve a precise measurement, and the reason for this comes back to gauge. Remember, when you are knitting your new sweater it's unblocked, so those measurements you are working to are likely to change. You will have much more control over the finished measurements if you calculate the rounds based on the gauge you are working at.
I hope this has shed a little more light on how to work out if you need to make some pattern adjustments for length and how to begin doing that. If you have any questions at all, please do comment below or email me at claire@making-stories.com!
1 Response
Leave a comment
Comments will be approved before showing up.
Also in Blog

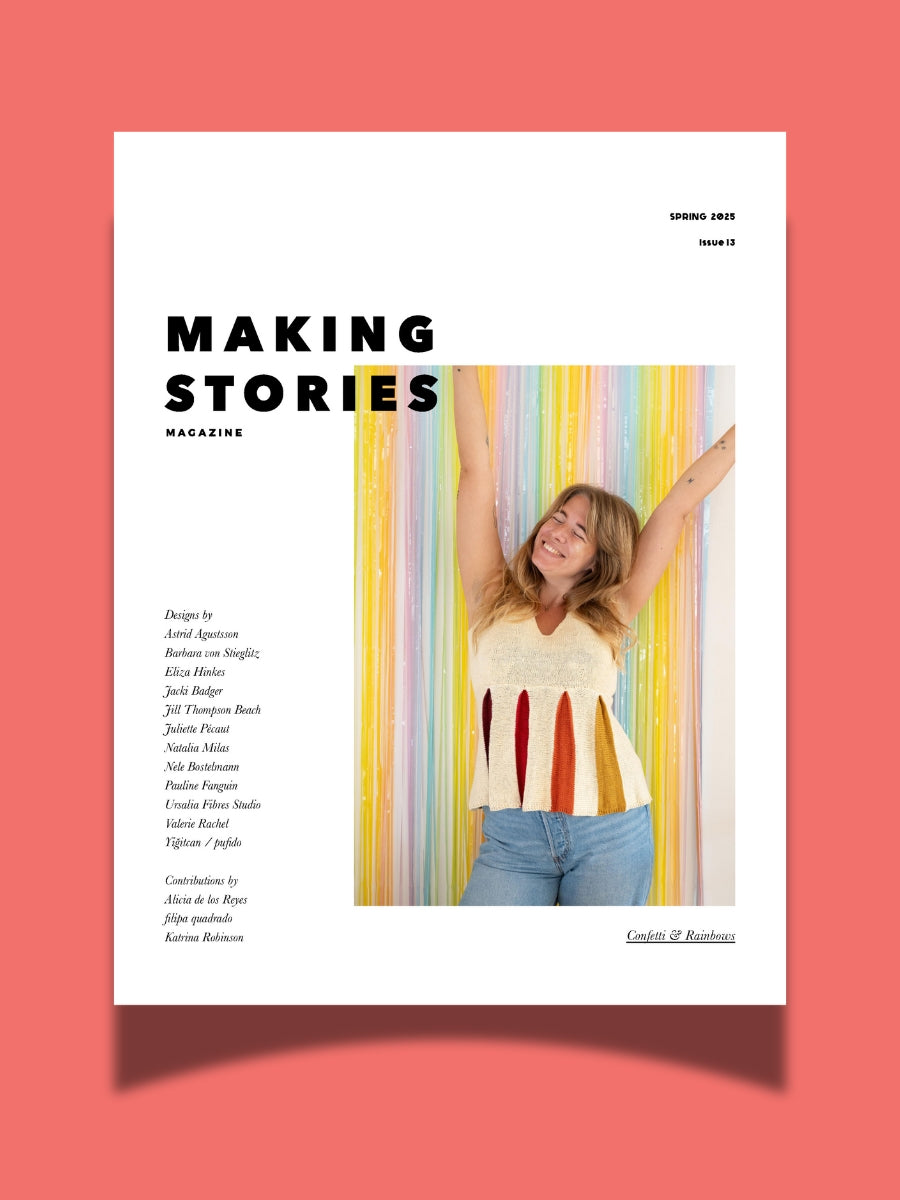
Issue 13 – Confetti & Rainbows | Official Pattern Preview
February 12, 2025 13 min read
Hi lovelies! The sun is out here in Berlin, and what better day to talk about one of the most joyful issues we've ever done than a brilliant sunny winter day – meet Issue 13, Confetti & Rainbows!
In Issue 13 – our Spring 2025 Issue – we want to play! Confetti and rainbows, unusually and unconventionally interpreted in 12 new knitwear designs – a journey through color, shapes, texture and materials.
Confetti made out of dried flowers, collected over months from bouquets and the road side. Sparkly rainbows, light reflecting. Gentle textures and shapes, echoing the different forms confetti can take. An unexpected rainbow around the corner, on a brick wall, painted in broad strokes.

New Look, Same Heart: The Story Behind Our Delightful Rebrand
January 16, 2025 4 min read 1 Comment
Hi lovelies! I am back today with a wonderful behind-the-scenes interview with Caroline Frett, a super talented illustrator from Berlin, who is the heart and and hands behind the new look we've been sporting for a little while.
Caro also has a shop for her delightfully cheeky and (sometimes brutally) honest T-Shirts, postcards, and mugs. (I am particularly fond of this T-Shirt and this postcard!)
I am so excited Caro agreed to an interview to share her thoughts and work process, and what she especially loves about our rebrand!
Thoughts on closing down a knitting magazine
November 19, 2024 12 min read 1 Comment
Who Is Making Stories?
We're a delightfully tiny team dedicated to all things sustainability in knitting. With our online shop filled with responsibly produced yarns, notions and patterns we're here to help you create a wardrobe filled with knits you'll love and wear for years to come.
Are you part of the flock yet?
Sign up to our weekly newsletter to get the latest yarn news and pattern inspiration!

Rebecca Schwartz
March 12, 2021
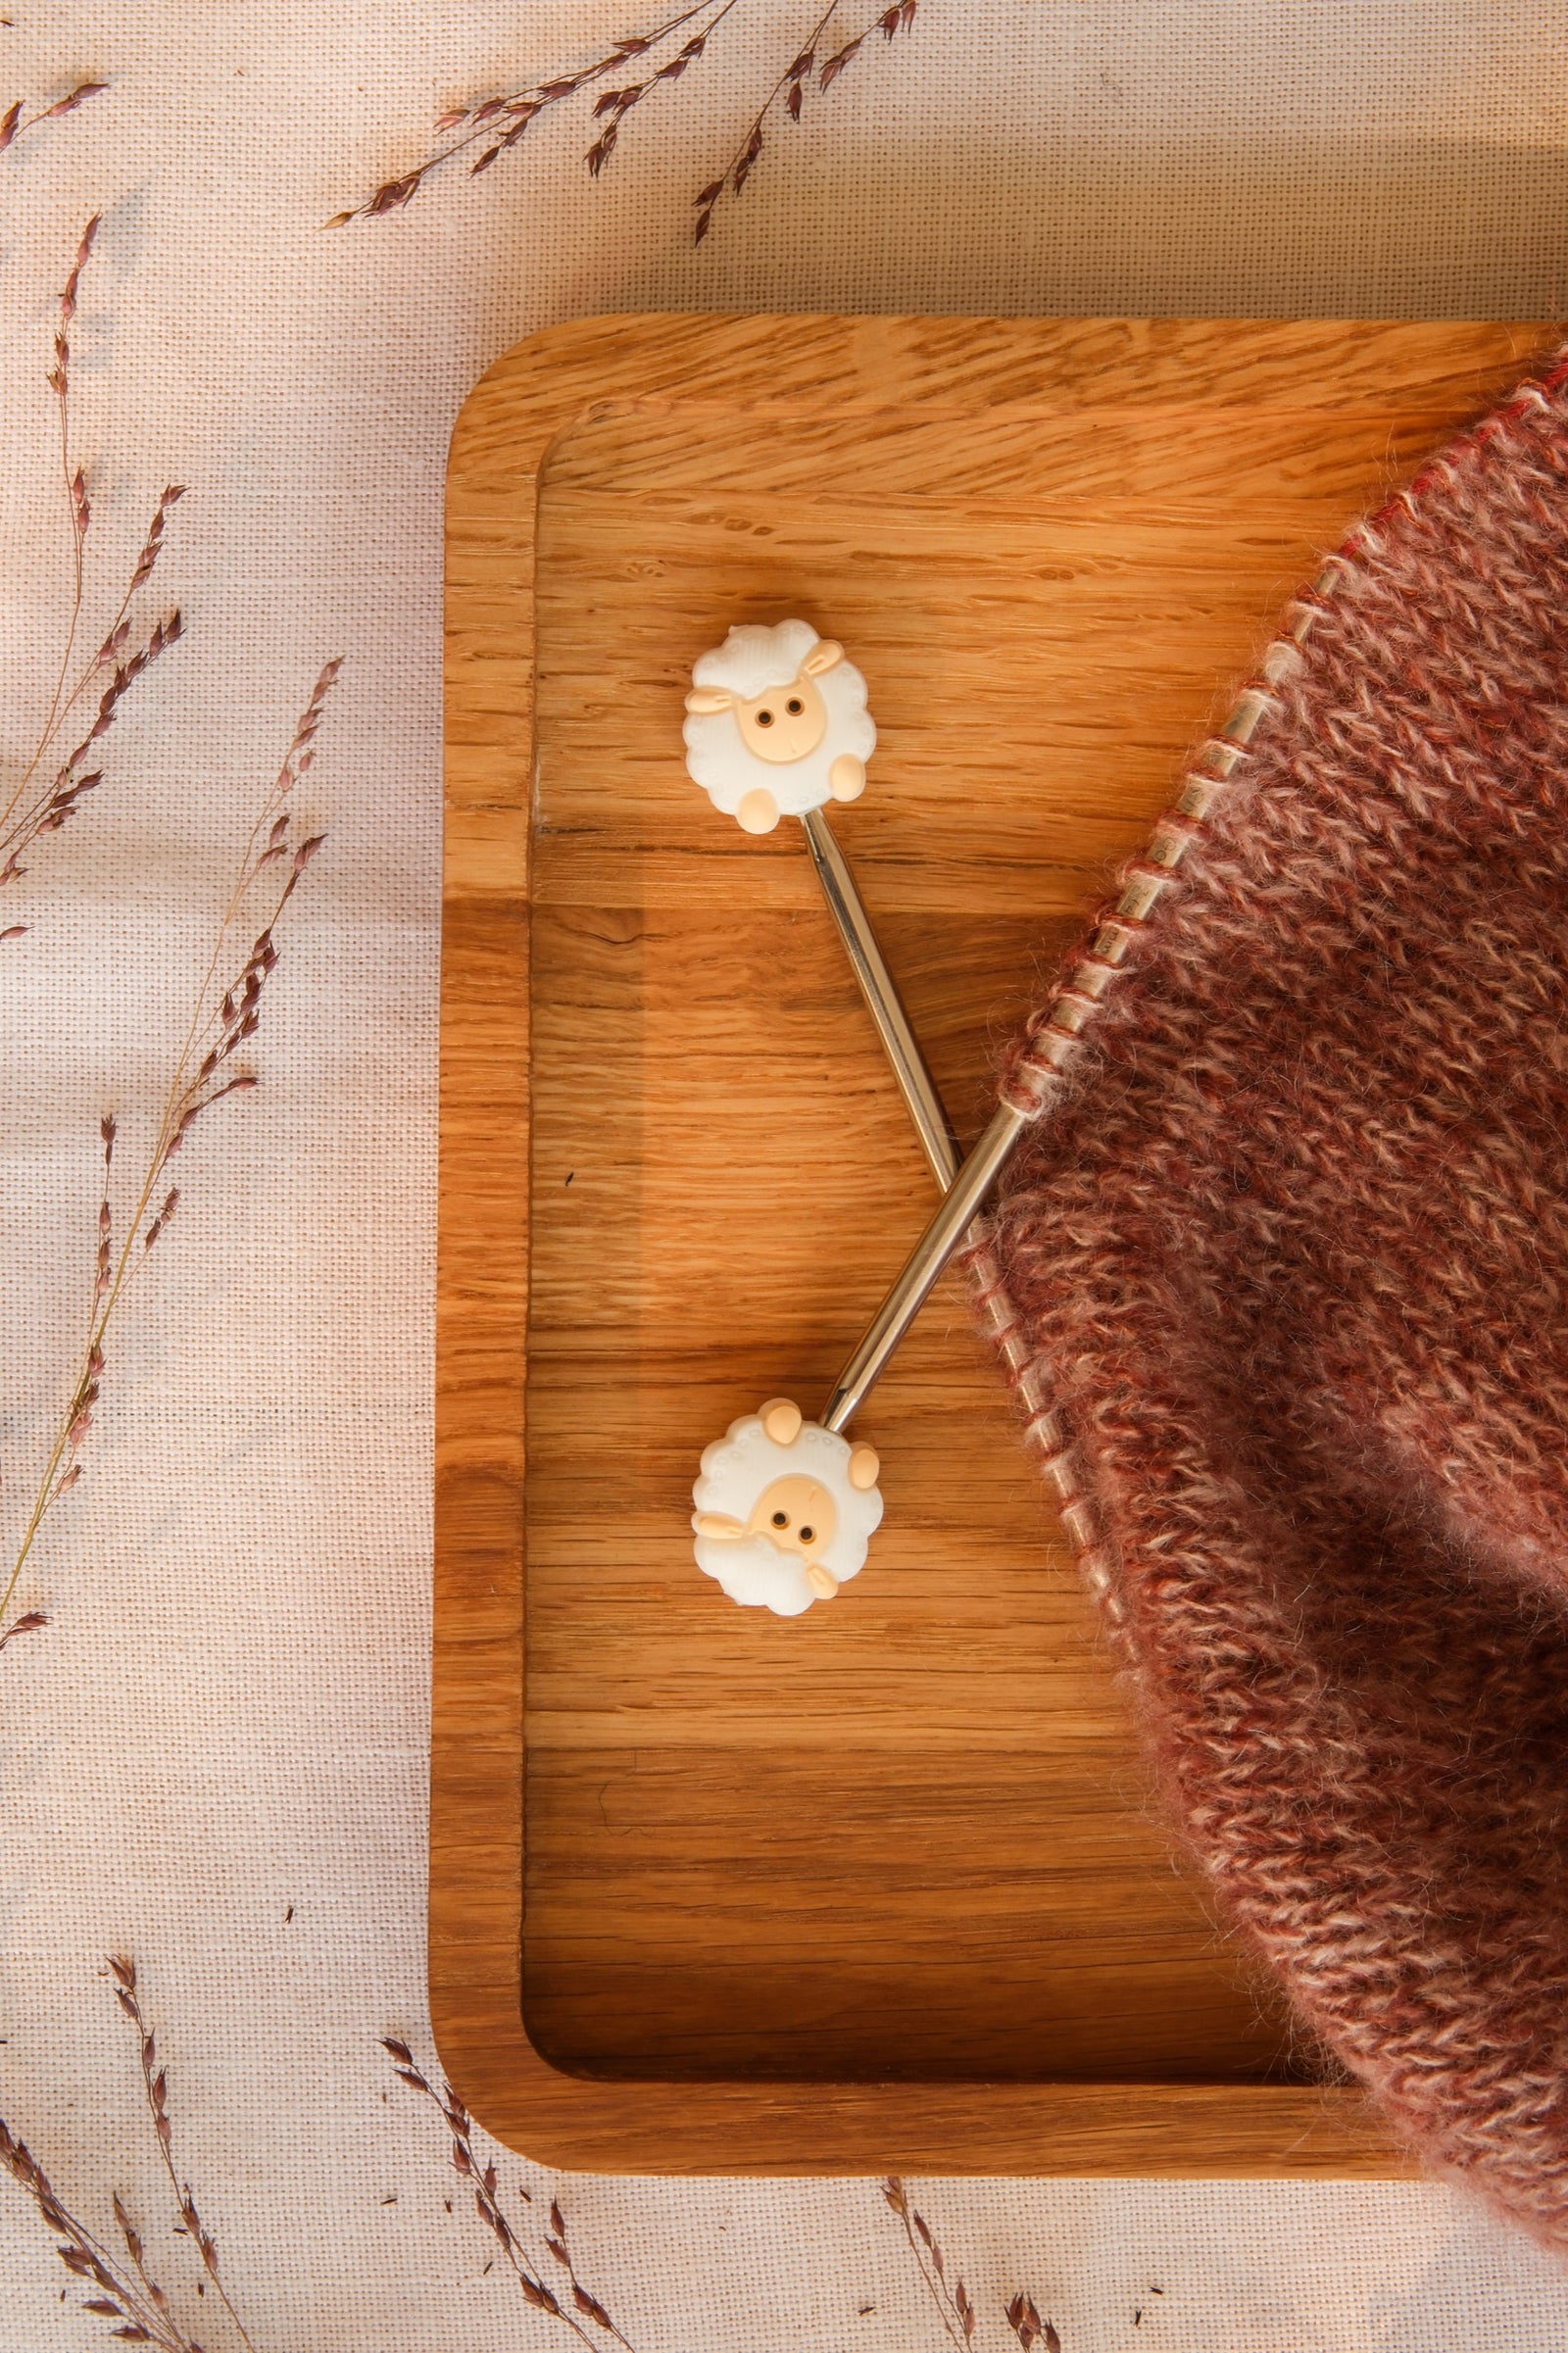
What’s the sweater in the photo?!