Free Shipping on orders over €75 (Germany) | €125 (International)

0

Your Cart is Empty

Yarn
  • Our Favorite Fall Yarns

  • All Yarns

  • Spinning Fiber
  • Frau Woellfchen's Hand-Dyed Braids

  • John Arbon Appledore Tops

  • All Spinning Fiber

  • Notions & Gifts
  • Katie Green's New "Crafty Sheep" Tea Towel

  • Needle Stoppers & Stitch Markers

  • All Notions & Gifts

  • Books, Magazines & Patterns
  • Issue 12 - Art Nouveau

  • All Books & Magazines

  • About Us
  • We're here to help you stitch sustainability into every aspect of your making.

    With our carefully curated selection of non-superwash, plastic-free yarns and notions, we have everything you need to get started on your next project - and the one after that.

    Here's to a wardrobe of knits we love and want to wear for years to come!

  • Our Sustainability Pledge

  • Our Blog

  • Our Podcast

  • The Making Stories Collective

  • Combining Sizes In Knitting Patterns

    June 17, 2021 6 min read

    Hello friends! It's Claire here and I'm back chatting once again about fit issues we get in our knitting. Today we're going to look at mixing and matching sizes in a knitting pattern. Why would we do that? Well, as you probably know, nearly all patterns are designed based on standard body sizes, but not many people fit perfectly into a standard body size. All our bodies are different, and just because one area of a pattern works for us, it doesn't mean the rest will. 

    So how do we find out if we need to mix and match? Let's take a look!

    Get Out Your Tape Measure!

    Oftentimes, we are told to pick a pattern size based on our bust measurement. The idea is that as long as our new pullover/cardigan fits at the bust, then it should follow that it will fit all over assuming the rest of your body measurements fall in line with the standard sizing. This is a common mistake to make when choosing a pattern and size that will fit, and unfortunately, one that only comes to light after many hours of knitting. So let's stop that mistake from happening right away!

    The chest measurement will often be the one highlighted in a pattern to help you choose your size, and unless otherwise stated by the designer, it's a great place to start. However, it's good to consider the rest of the sweater too. There will always be other measurements listed, either separately or on a schematic, so take the time to find out your own measurements for those areas too. Once you know those, you can compared them to the ones listed in the pattern and will be able to easily see which sizes work best for each area.

    Here is a great tutorial on how to take your measurements!

    Finished measurement v your measurements

    It's good to bear in mind that the measurements listed in a pattern are finished measurements, meaning that it's the size your finished sweater will be with any ease added. How much ease there needs to be will either be based on the designers own ease suggestions, and therefore mentioned in the pattern, or your personal preferences. When you take your body measurements, there is no ease, so it's important to keep this in mind when choosing sizes.

    If ease is something you find confusing or you're not sure what your preferred ease is, check out our blog post, 'Understanding Ease'!

    Let's look at an example - you have picked a size based on your chest and it gives you your preferred amount of ease of 7.5 cm / 3". When you compare your other measurements to the finished measurements in the pattern, you find the same size will fit perfectly on your neck and shoulders too, but the upper arm finished measurement is exactly the same as your own measurement, so there will be zero ease. Depending on the style of the sweater, this may not be an issue at all and exactly what you are looking for, but it could also mean that you end up with tight, uncomfortable sleeves, leading to a sweater that never gets worn. You definitely don't want that.

    So what size should you knit for the sleeves? This, again, comes back to the ease that you want in your sleeves, and as I mentioned above, it will depend on the suggested ease in the pattern or your own preference. Once you know though, you can easily work out which size will be best for you by doing the following;

    Your upper arm measurement + how much ease you want = preferred finished upper arm measurement

    Once you know your preferred finished measurement, look at the measurements listed for the upper arm in the pattern and choose the one that is closest. You are now working with two sizes in the pattern; one for the neck, yoke and body, and another for the sleeves, and you are well on your way to having a sweater that will fit you how you like!

    But how do you combine two sizes?

    So you know your body measurements, and you've compared them to the measurements in the pattern, and you can see where you need to combine different sizes, but how do you do that?

    Unfortunately, just like with knitting patterns, there is no one size fits all answer. What it comes down to is how to adjust the length or width of a pattern so one size flows into another with as little disruption to the original pattern as possible. This means taking into account the style of the sweater (raglan, set-in sleeve, drop-shoulder, etc.) and any stitch patterns or design details it may have. We've talked a lot about adjusting length on the blog already, but what about width?

    Adjusting width can be tricky, but we can apply a lot of what we discussed in our posts on adjusting the length and apply them here too, such as how to accommodate a stitch pattern. But let's look at a quick example of adjusting the width from one size to another to see how to do it.

    Work out where you need to make the size adjustment.

    We're going to continue our theoretical upper arm issue on a top-down, circular yoked sweater. The size that fits our chest is giving us no ease in the upper arm, but the next size up gives us ease of 2.5 cm/1", which is much more comfortable so we're going to size up for the sleeves.

    Work out how many stitches you'll need to increase.

    Let's say after picking up the underarm stitches, the original size had 56 sts in the upper arm, but the size you need has 62. You subtract the original stitch count from the new stitch count like so; 62 - 56 = 6 sts. You need to increase six stitches per sleeve to get your desired fit.

    Where to add those increases.

    Now, this is the tricky part! The important thing to keep in mind is if the rest of the measurements in the first size work for you, you want to add your extra sleeve stitches in a way that doesn't disrupt that. For example, if the first size for our yoked sweater fits you perfectly at the shoulders, you don't want those extra stitches to change that. Remember, you are adding an extra inch per sleeve, so that's two extra inches that, if not mindfully incorporated into the yoke, can affect the fit. In this case, I would add the extra stitches after all the yoke shaping is complete using raglan increases as follows;

    1. Place markers separating the body and sleeve stitches.

    2. On the next round, increase 1 stitch inside each of the sleeve markers [4 sts inc]

    3. Repeat the increase round every other round twice more. [8 sts inc]

    We have successfully added six stitches to each sleeve without affecting the yoke measurement. As we calculated the stitches we needed based on the number of sleeve stitches after picking up the underarm stitches, we've also not affected the chest measurement. When it comes to knitting the rest of the sleeves, you will follow the instructions for the new size.

    So this is just one example of how to combine two sizes from a pattern, and it was a pretty straightforward issue to solve. As you can imagine, the more complex a pattern gets, the trickier it can be to work out how best to make your alterations. BUT - if you can work out which sizes in a pattern work best for each body measurement, it can take a lot of the guesswork out of it for you as you'll know how many stitches you need to adjust to.

    It can definitely be daunting to adjust a pattern, and if you find yourself trying this out and getting lost, please don't worry! You are certainly not alone, and always remember that reaching out to the designer is also an option. They know their pattern inside-out, and they will be able to tell you if a certain alteration you would like to make is achievable, and if so, how best to do it.

    Do you often combine sizes in knitting patterns, and if so, do you have any tips or advice for fellow knitters? Share in the comments below!

    Leave a comment

    Comments will be approved before showing up.


    Also in Blog

    Thoughts on closing down a knitting magazine
    Thoughts on closing down a knitting magazine

    November 19, 2024 12 min read

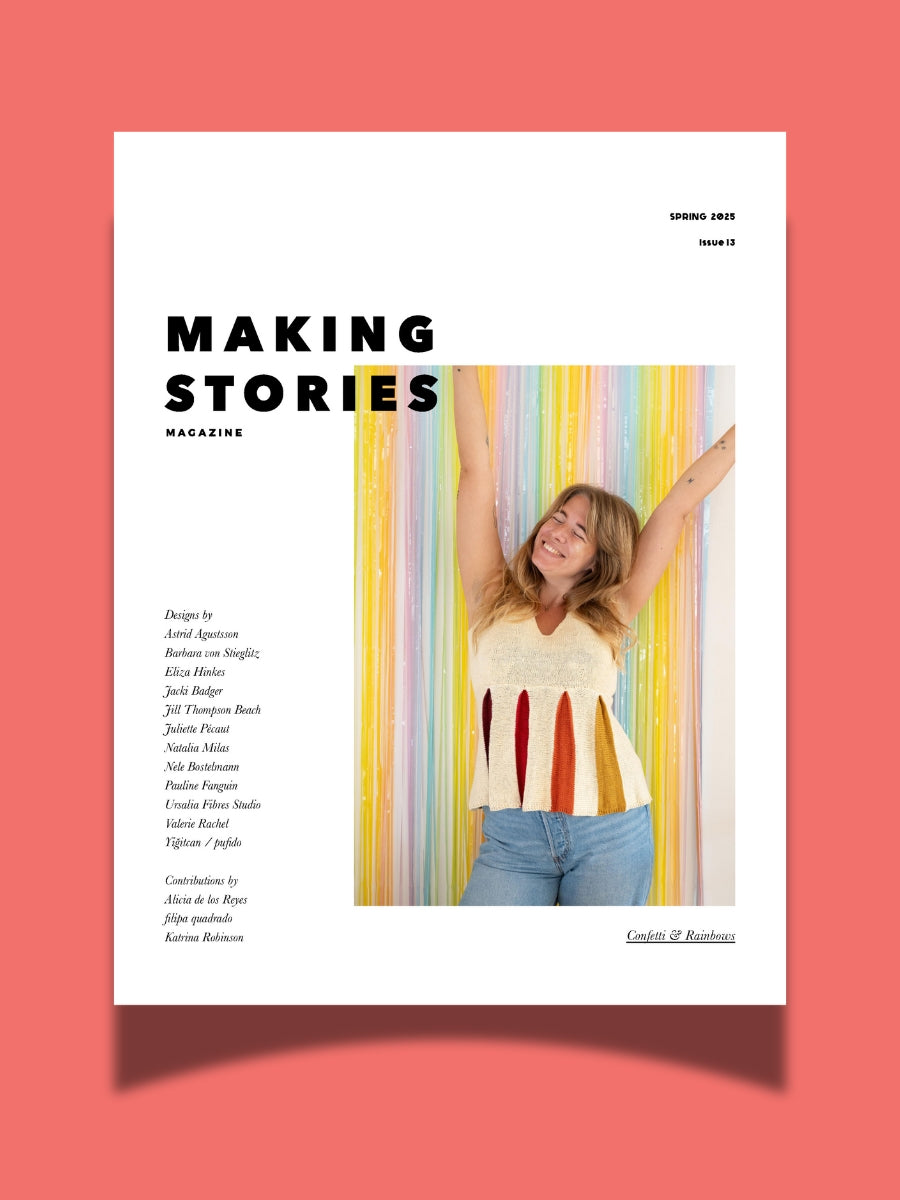
    As a lot of you might have suspected I have, at last, made the decision to definitely close down Making Stories Magazine after Issue 14, our 2025 Fall & Winter issue. This means we still have two issues to go - Issue 13, coming out in March (Confetti & Rainbows!!), and Issue 14, coming out in September. I wanted to share this decision with you bright and early as I don’t feel like holding this in when we publish our last Spring and then our very last Fall & Winter issue. I want to celebrate those issues, and the work that we have done over the last eight years, and I want to be able to share the bittersweet feelings that will inevitably come up when the list of “lasts” still do be done gets shorter and shorter.
    Read More
    All the knits I finished while recovering from surgery
    All the knits I finished while recovering from surgery

    October 28, 2024 8 min read

    About three weeks ago, I had surgery. Nothing major, and it was planned - but it was my first time undergoing general anaesthesia and facing an uncertain recovery period, both of which made me quite nervous. I knew that I was going to be in the hospital for two days, if everything went well, but then it was between one and three weeks of recovering at home, depending on how fast my body was going to heal.

    Needless to say, I packed knitting for the hospital, but I didn’t feel like picking up my needles until my second day in the hospital. And then I knit. I knit, and knit, and knit. Curiously enough, I always get the urge to clear off my needles this time of the year - something about the weather changing, sweater season approaching, maybe? And this year, this urge coincided with me wanting to do something while watching copious amounts of Netflix without having to think very hard about what I was going to knit. Win win!

    Read More
    Art Nouveau Sample Preview Video - Issue 12, Fall & Winter 2024
    Art Nouveau Sample Preview Video - Issue 12, Fall & Winter 2024

    June 26, 2024 1 min read

    Let’s wander the streets of Brussels and Paris, searching for the hidden architectural Art Nouveau gems – houses, doors, windows, street lamps. Let’s explore Berlin’s Jugendstil tile art, marvelling at the colors and shapes taking form. Let’s get lost in the work of water color artists, glass blowers, jewellers, embroidery artists, and myriads more, who dive into the shapes and curves of plants and flowers, moving, flowing, mirroring.
    Read More