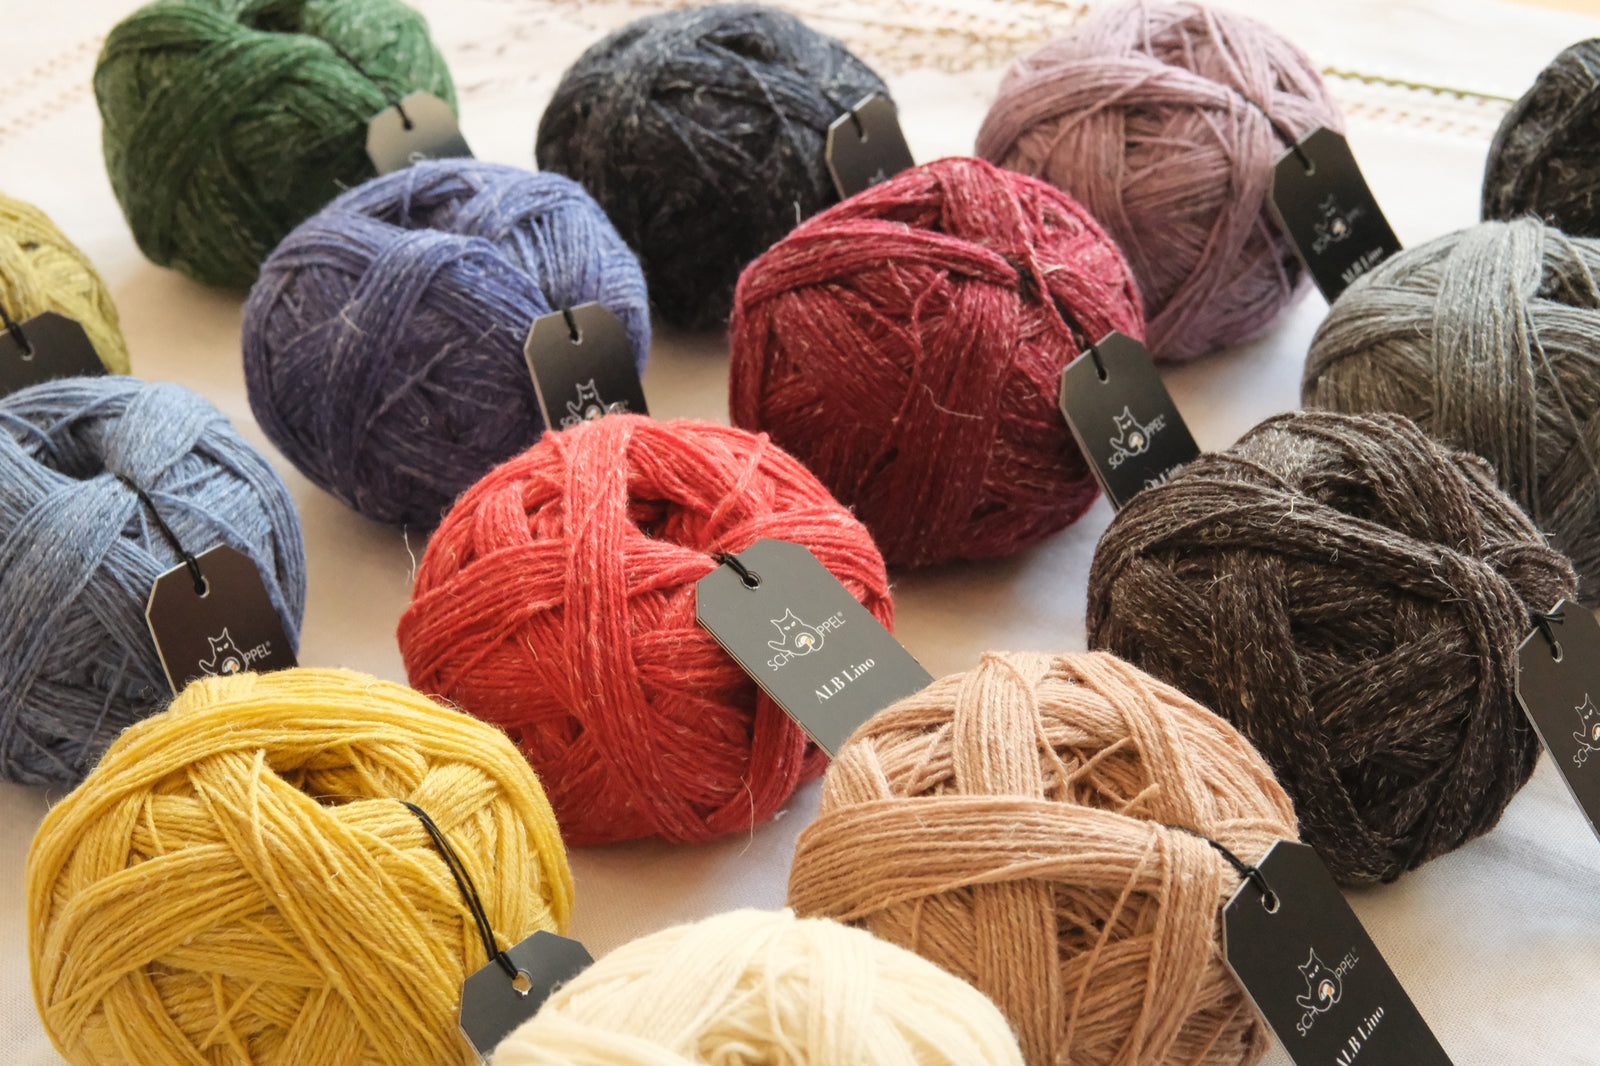

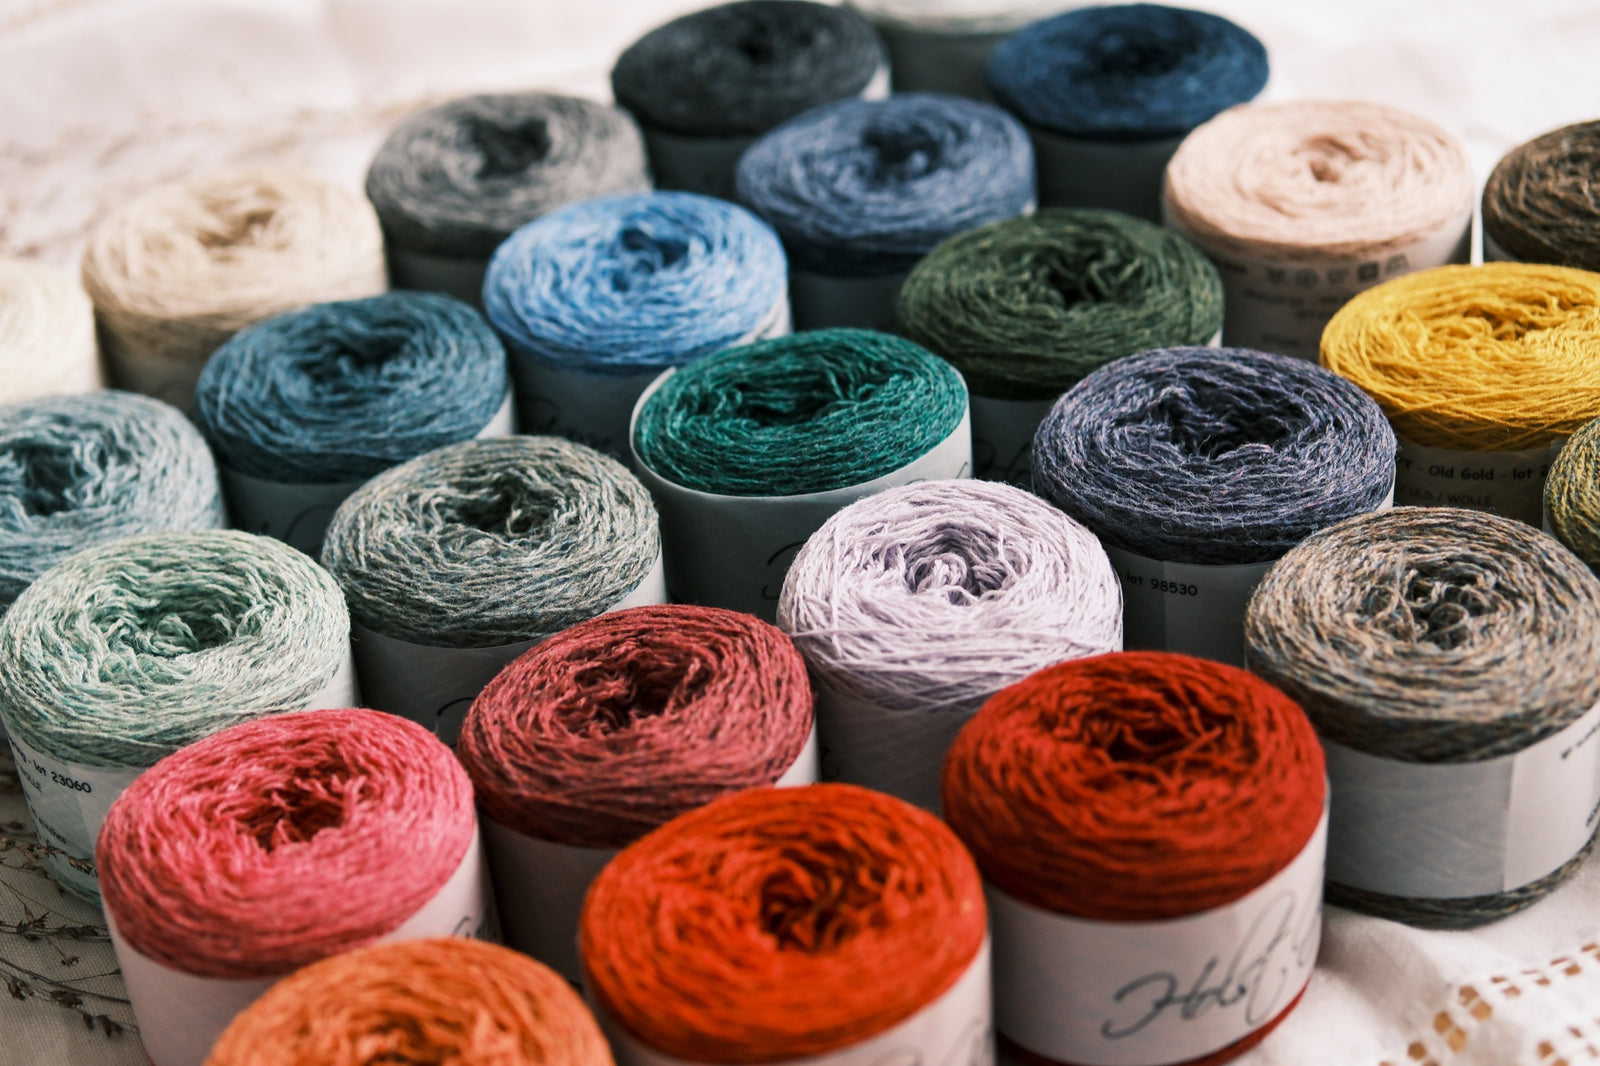


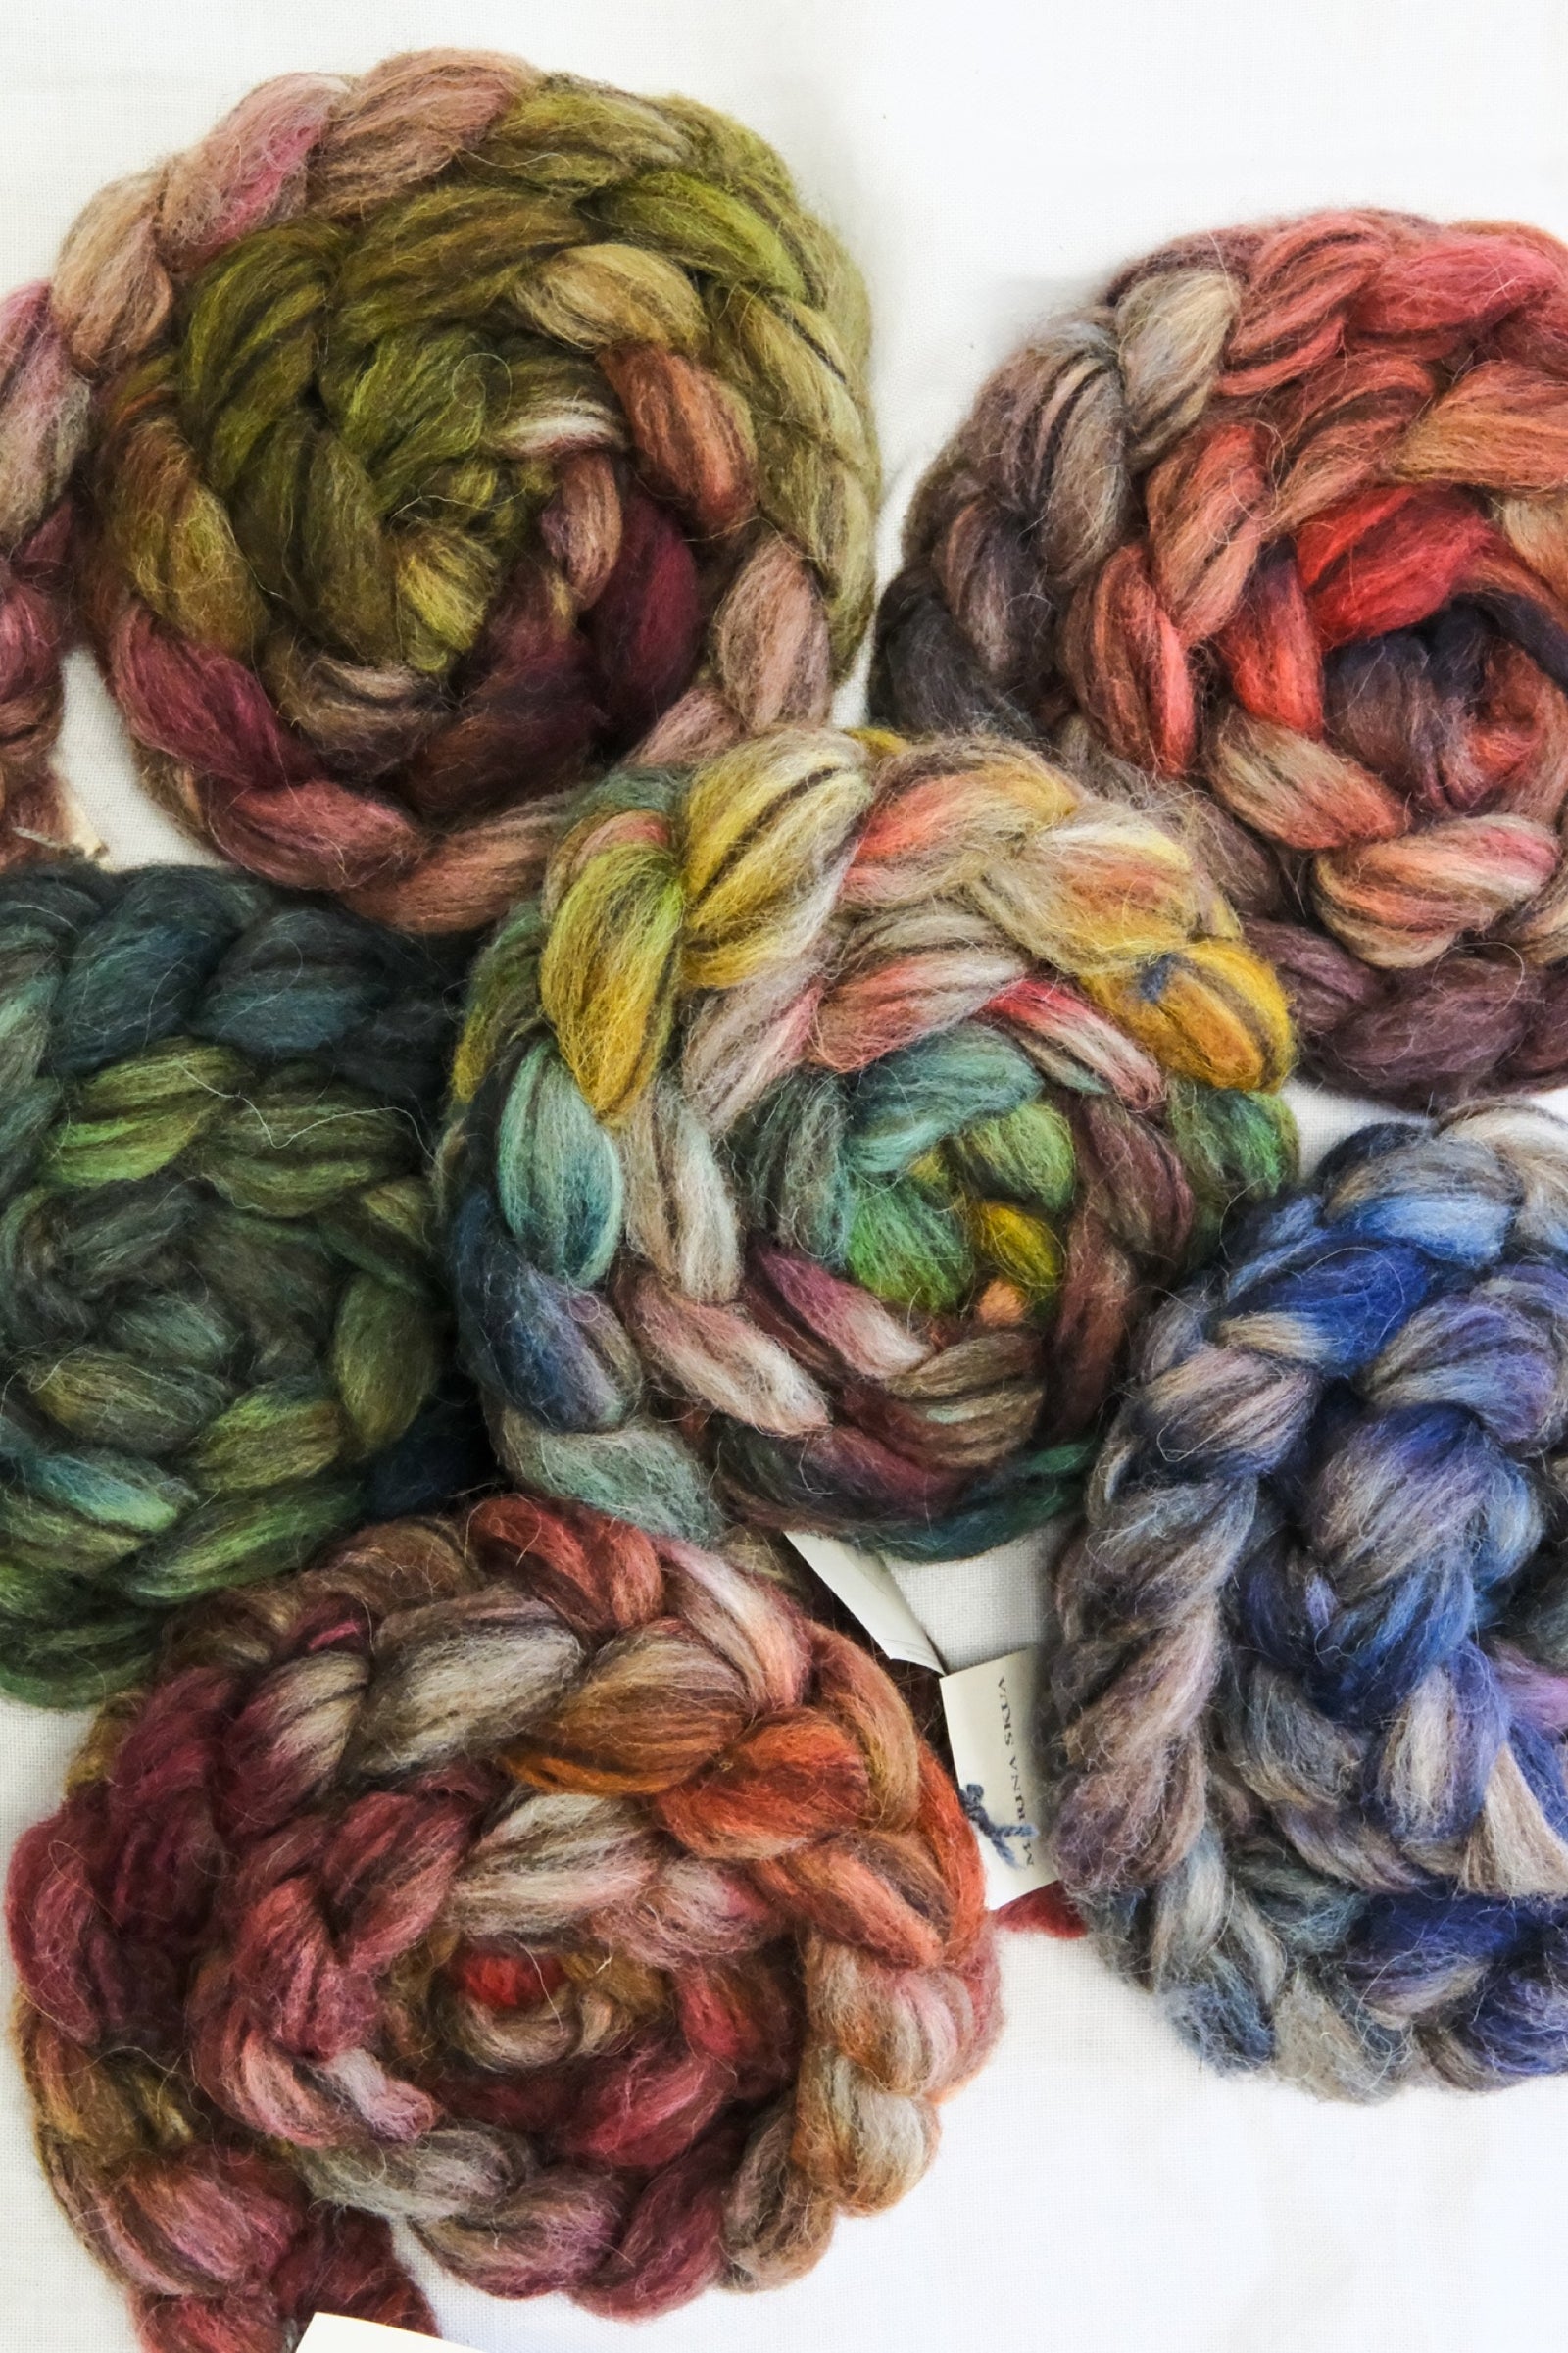

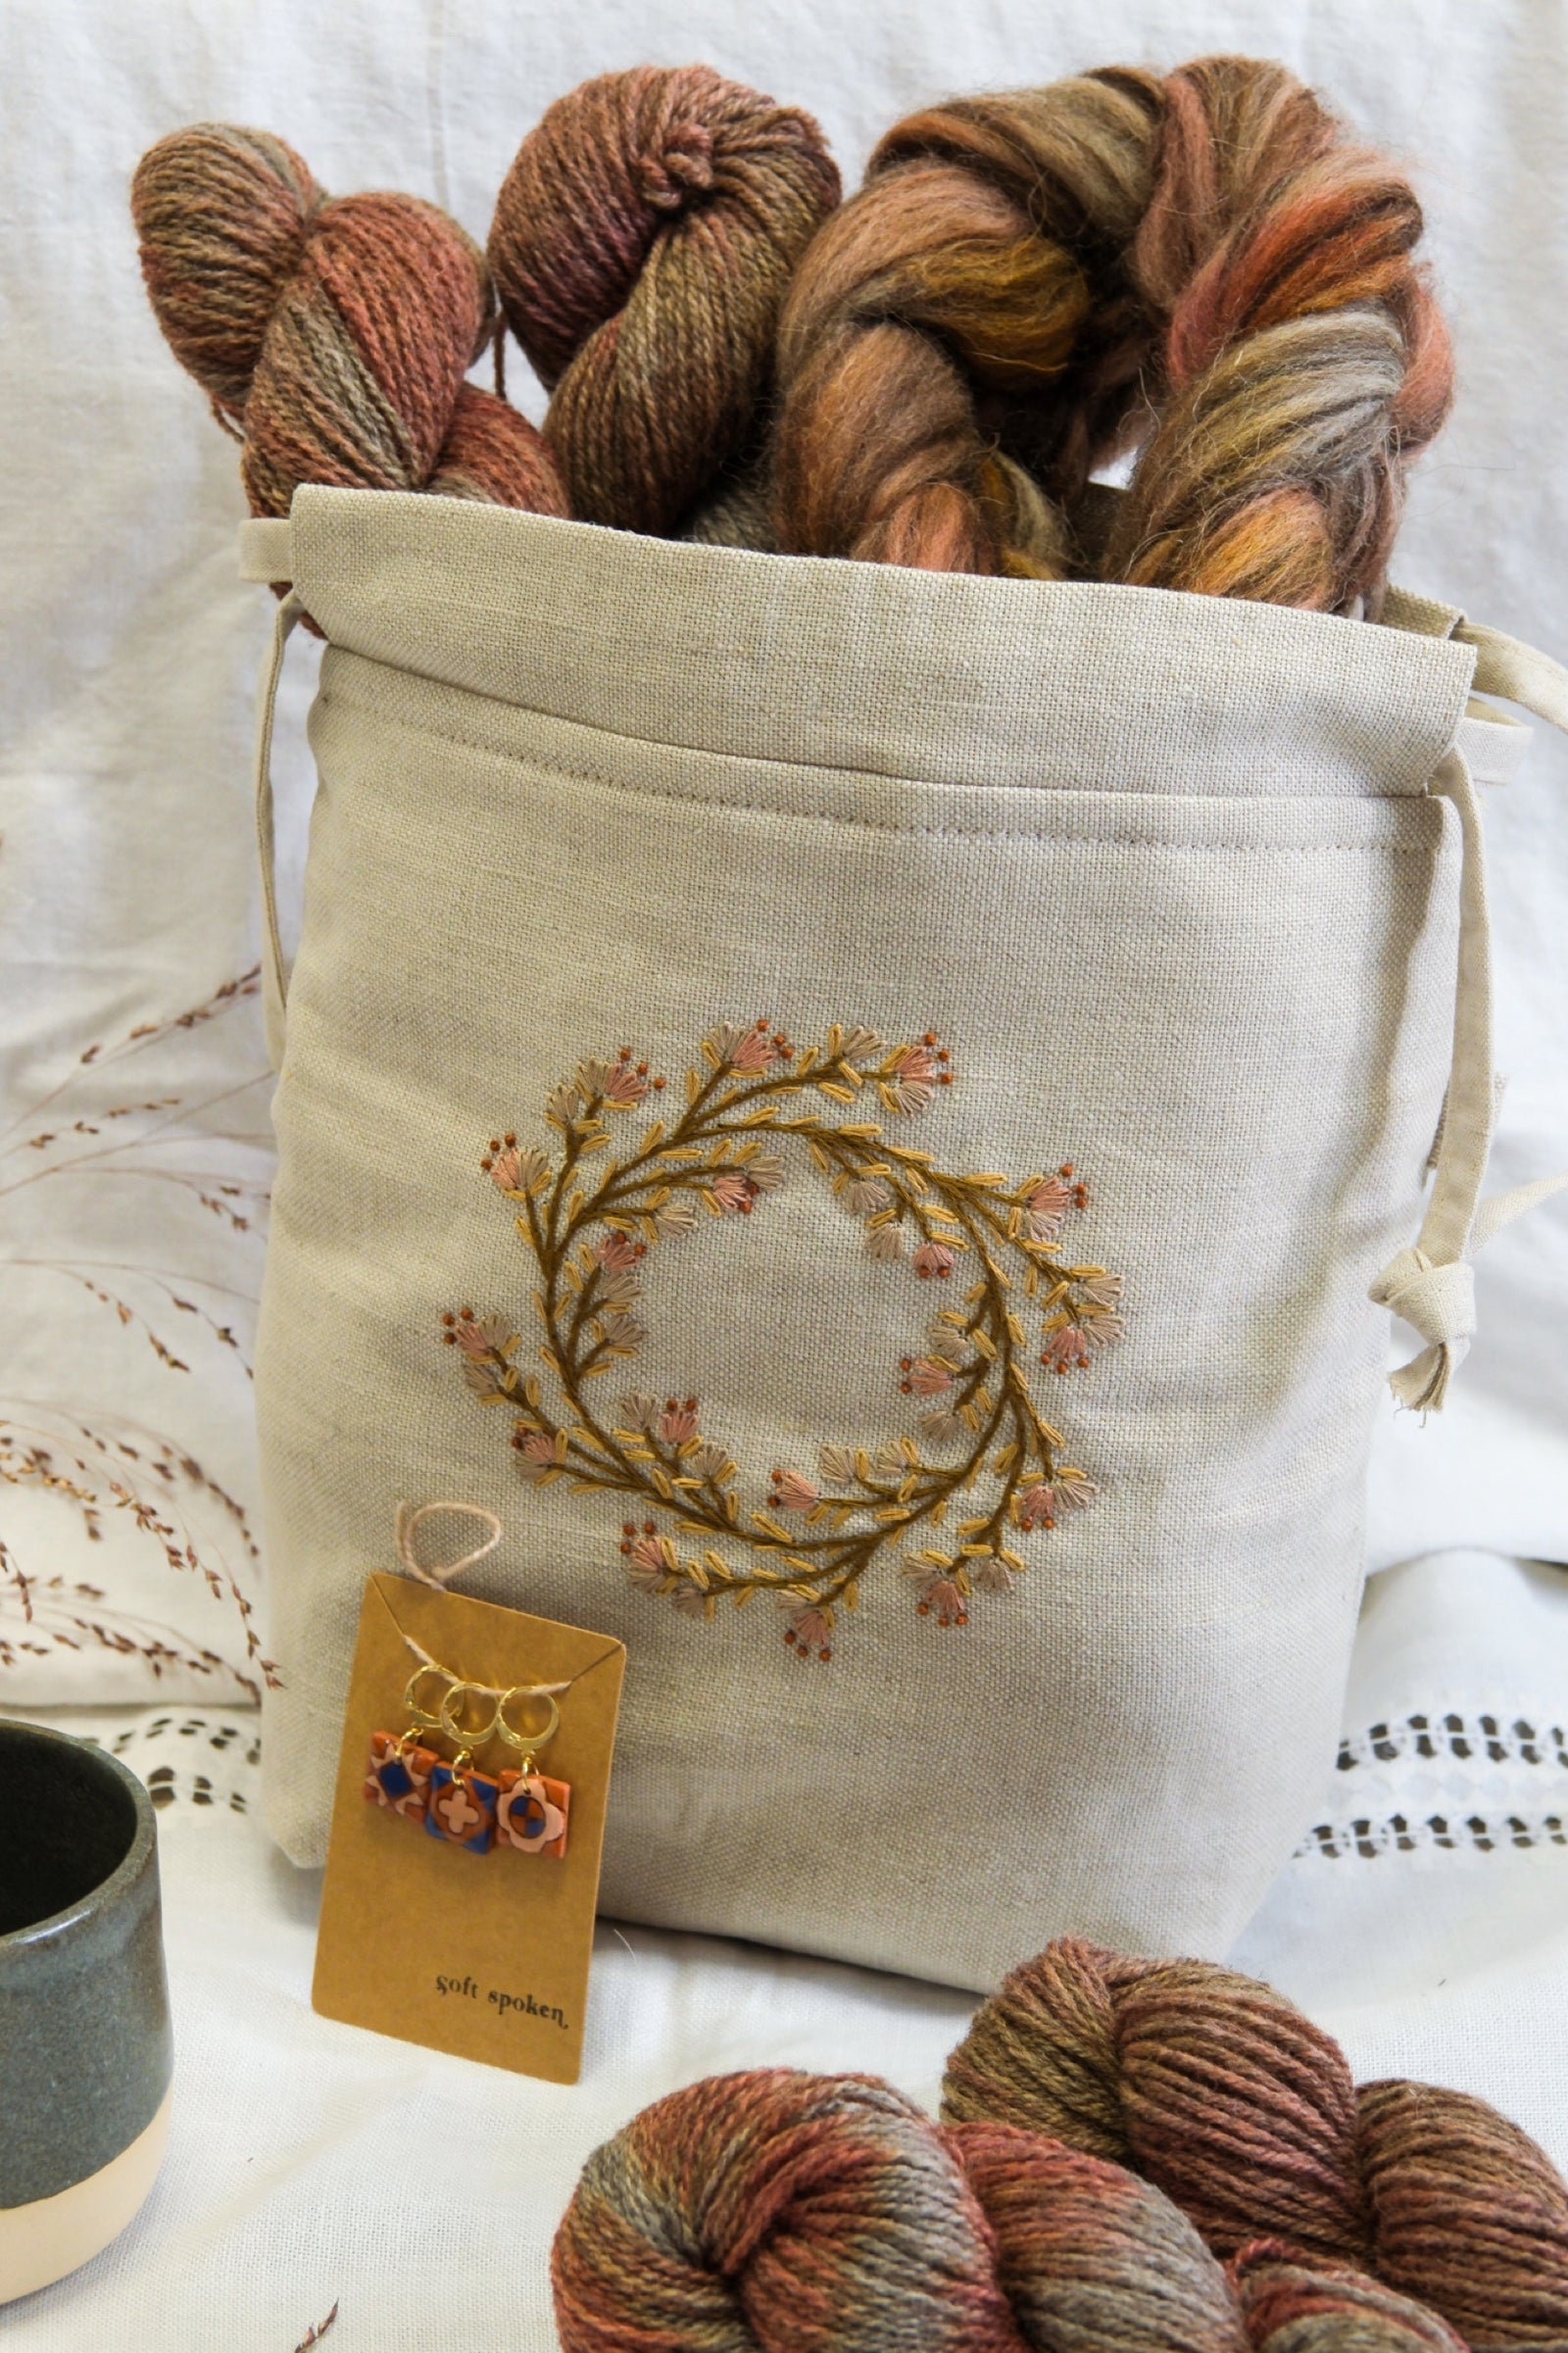


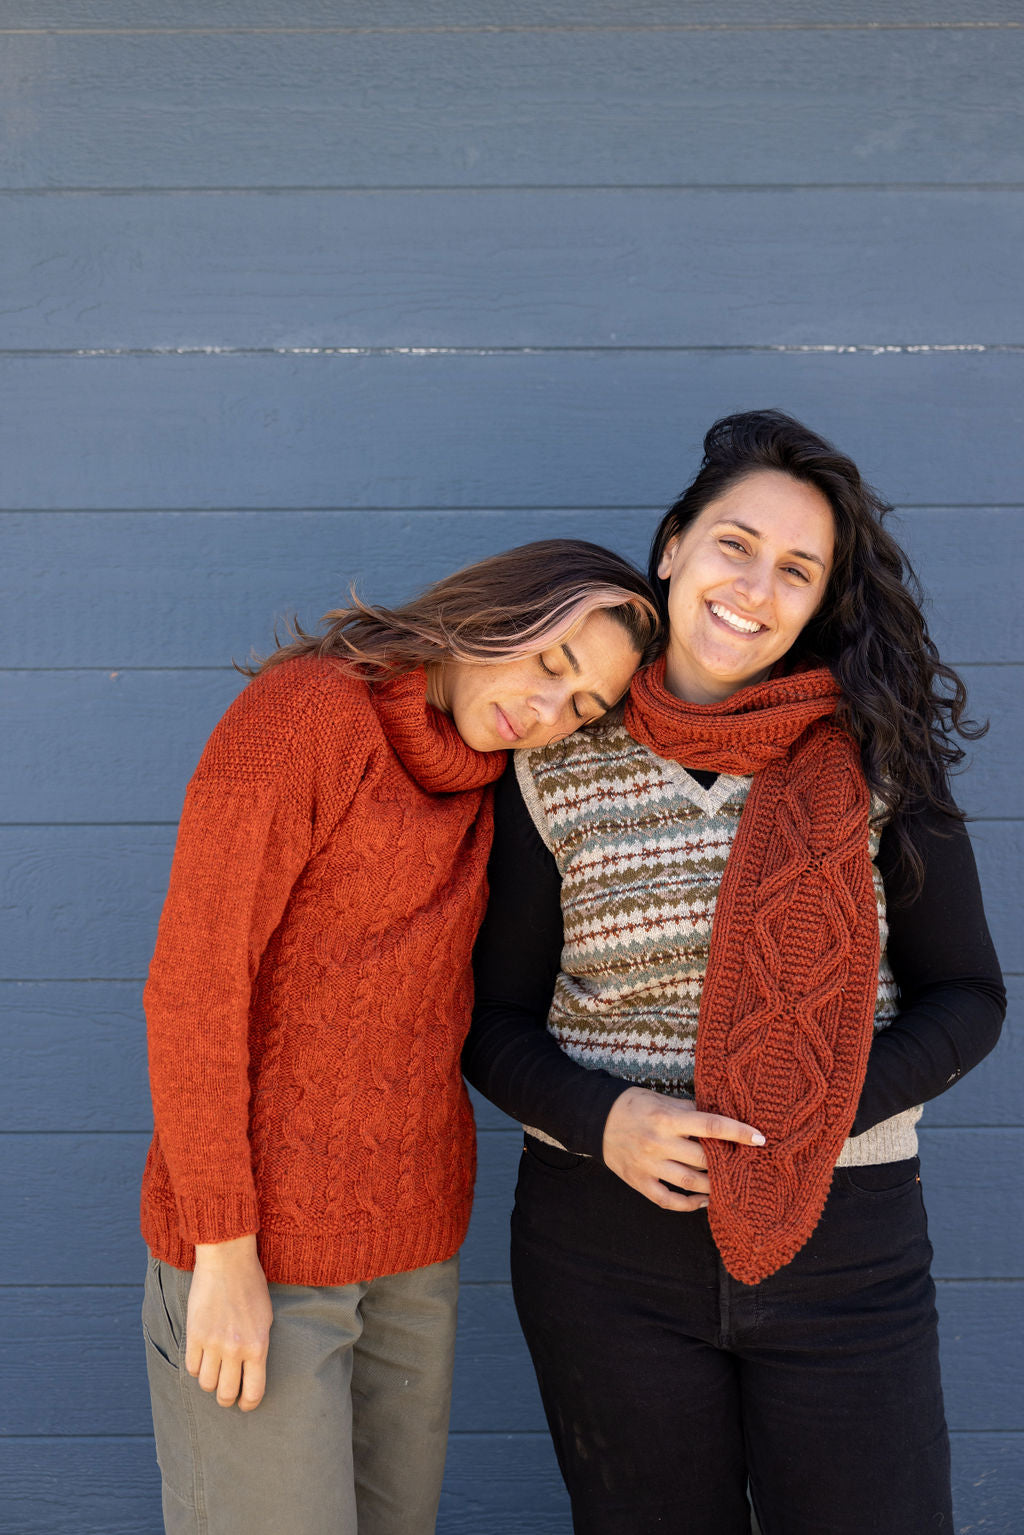
We're here to help you stitch sustainability into every aspect of your making.
With our carefully curated selection of non-superwash, plastic-free yarns and notions, we have everything you need to get started on your next project - and the one after that.
Here's to a wardrobe of knits we love and want to wear for years to come!


Estimating Yardage And Why It's So Important
How much yarn do I need for my new project?
Does that question make you feel instantly bewildered and have you shouting, "I don't want to do maths, I just want to cast on!" You are not alone. Whether you are a designer embarking on a new design, or a maker eager to get your next WIP on the needles, you need to know how much yarn you are going to use because let's face it; there are few things worse than running out of yarn mid sleeve.
But do I really need to know this?
Let's start by looking at this from the designer's point of view. Estimating yardage as accurately as possible, is a huge help. You're able to confidently submit yarn support requests, show off a little in magazine submissions, and more importantly, have a thorough knowledge of your design and be able to give reliable information to your test knitters and enable them to order the correct amount of yarn. As we already stated, running out of yarn mid-project is so frustrating, and you don't want to put your testers through that when they are giving up their time to work with you.
But what if you're not a designer? You have a new pattern, you have your yarn, and the designer has stated the yardage right there for you. You don't need to work anything out, right? Maybe! If you have all full skeins in the recommended yarn (or something very similar to the recommended yarn) and have just got gauge with your awesome swatch, then you are good to go. But if you're stash diving and come across that random bag of yarn with seven different size balls that you frogged from a previous WIP and you have no idea how much you have then keep reading! This will help you work out if you're able to use it.
So, hopefully, I have you convinced that it's worth taking the time to work out your yardage, but how do we go about it? It's pretty straight forward; it just takes a little patience! Grab a hot drink and find a quiet corner, because we're going to do some maths. You will also need the following:
a generous size swatch (at least 6x6 inches, your gauge swatch for example) for all the stitch patterns used
scales (digital are best)
paper and a pencil
I'm going to show you the calculations and also give you an example. For the sake of this post, we're going to pretend I'm designing a simple, raglan pullover in stockinette stitch. I will be using cm and meters but you can just as easily use inches and yards if you prefer.
Step 1 - Measure and weigh your swatch.
As with most projects in knitting, we're going to start with the swatch. That small square of fabric is going to tell us so much and allow us to work out our yardage. The first thing we are going to do is work out how many yards are in our swatch. Grab the band of the yarn you are using and make a note of how many yards there are to grams. We now need to find out how many yards are in a single gram by doing the following calculation:
number of meters √∑ number of grams = m per 1g
For this exercise, let's say I'm using a Sport weight yarn with 300 meters in 100g. The calculation will look like this:
300 √∑ 100 = 3m per 1g
We can now work out how many yards are in our swatch by weighing it and multiplying that number by how many yards we have in 1g:
No. grams in swatch x no. meters per 1g = meters in swatch
Let's apply that to our hypothetical sport weight swatch. I weigh it and I'm getting 6g, so here's how that calculation would look:
6g x 3 yds = 18m
Now, see that number you got for the yards in your swatch (for me it's 18!)? Circle it, highlight it, do whatever you want to it, but don't lose it because we'll need it later.
But wait, what about that mystery bag of yarn we found earlier. We don't have the ball band and have no idea what brand it is. That's ok! Once you have weighed and measured your swatch, unravel it and measure how many meters are in it. You can work out how many meters are in 1g by using the same calculation as above.
The second thing we are going to do with our swatch is to work out how many square cm it has. To do this, we multiply the width by the height:
Width x height = x sq cm
For example, my swatch measures 15x15cm, to work out the sq cm I do the following calculation:
15 x 15 = 225 sq cm
Easy, right?! If you are using multiple stitch patterns and therefore have numerous swatches, repeat the above calculations for each swatch, clearly labelling which calculations belong to which swatch.
Step 2 - Work out the surface area of your design.
As with our swatch, we now need to work out how many square cm are in your design by multiplying the widest parts of the item by the length. If your project is a scarf then this is super simple, but for our raglan pullover we would have to work out the areas separately like this:
Back width x garment length
Front width x garment length
Sleeve circ. x sleeve length x 2
Here's how those calculations would look for our pullover (I'm choosing random measurements for the sake of our example):
Back: 101cm wide x 89cm long = 8989 sq cm
Front: 101cm wide x 89cm long = 8989 sq cm
Sleeves (x2): 31cm circ. x 64cm long = 1984 x 2 = 3968 sq cm
As we are only dealing with one stitch pattern (stockinette), we can add all the sections together to get the whole surface area, like this:
Total: 8989 + 8989 + 3968 = 21946 sq cm
If the item you are designing is a little more complicated, say the sleeves are in stockinette, but the front and back have an all-over cable pattern, then only add the sections that have the same stitch pattern. The yardage in a swatch with a cable pattern will be considerably larger that a swatch with just stockinette, even if they are both the same size. For this example, it would look like the following:
Front & Back Total: 17978 sq cm
Sleeves Total: 3968 sq cm
A note on collars: Our example here doesn't have a large collar or turtle neck, but if the design you are working on does, work out the surface area in the same way as the other sections, multiplying the widest part by length.
Step 3 - How many times our swatch fits our design
Now things are getting gritty! We're going to work out how many of our swatches would fit into our design. We do this with the following calculation:
Total sq cm in design √∑ total sq cm in swatch = number of swatches
For our pullover it would look like this:
21946 √∑ 225 = 97.5
So it would take 97.5 of our original swatches to create our pullover. Pretty neat! Remember, if you are working on a design with multiple stitch patterns, and therefore multiple swatches, use the correct swatch for each section.
Step 4 - Calculating the yardage.
Now we're getting to the main act! Remember that number back in step 1 that we circled and gilded with gold leaf? The one that shows how many meters you have in your swatch? We're going to use it now! We're going to multiply that by how many swatches fit into your design. Here's the calculation:
No. meters in swatch x no. swatches in design = estimated yardage
Heres what that looks like for our pullover:
18 m x 97.5 swatches = 1755 m
Again, if you have multiple stitch patterns, work out each section separately using the correct swatch information. Once you have your estimated yardage for each section you can then add all the sections together for a final total.
And there you have it! You've arrived at how many yards you need to complete your project. If you are working on a pattern that has multiple sizes, then you will need to follow these calculations for every size. So, if you are grading a cardigan in eight sizes, it's best to have a few snacks to keep you going! I hope you have found this post helpful and if you have any questions at all, be sure to post them in the comments below!
Leave a comment
Comments will be approved before showing up.
Also in Blog


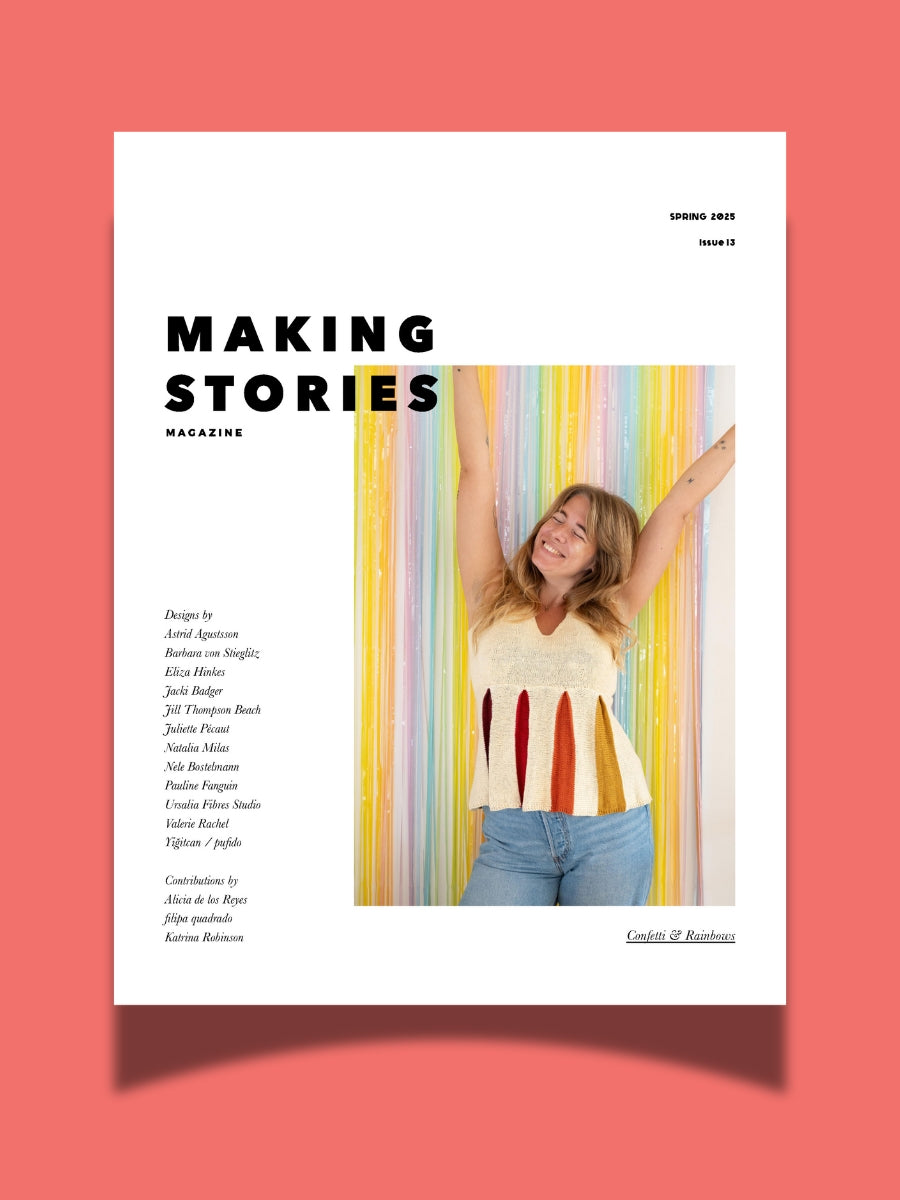
Issue 13 – Confetti & Rainbows | Official Pattern Preview
Hi lovelies! The sun is out here in Berlin, and what better day to talk about one of the most joyful issues we've ever done than a brilliant sunny winter day – meet Issue 13, Confetti & Rainbows!
In Issue 13 – our Spring 2025 Issue – we want to play! Confetti and rainbows, unusually and unconventionally interpreted in 12 new knitwear designs – a journey through color, shapes, texture and materials.
Confetti made out of dried flowers, collected over months from bouquets and the road side. Sparkly rainbows, light reflecting. Gentle textures and shapes, echoing the different forms confetti can take. An unexpected rainbow around the corner, on a brick wall, painted in broad strokes.


New Look, Same Heart: The Story Behind Our Delightful Rebrand
Hi lovelies! I am back today with a wonderful behind-the-scenes interview with Caroline Frett, a super talented illustrator from Berlin, who is the heart and and hands behind the new look we've been sporting for a little while.
Caro also has a shop for her delightfully cheeky and (sometimes brutally) honest T-Shirts, postcards, and mugs. (I am particularly fond of this T-Shirt and this postcard!)
I am so excited Caro agreed to an interview to share her thoughts and work process, and what she especially loves about our rebrand!

Thoughts on closing down a knitting magazine
As a lot of you might have suspected I have, at last, made the decision to definitely close down Making Stories Magazine after Issue 14, our 2025 Fall & Winter issue. This means we still have two issues to go - Issue 13, coming out in March (Confetti & Rainbows!!), and Issue 14, coming out in September. I wanted to share this decision with you bright and early as I don’t feel like holding this in when we publish our last Spring and then our very last Fall & Winter issue. I want to celebrate those issues, and the work that we have done over the last eight years, and I want to be able to share the bittersweet feelings that will inevitably come up when the list of “lasts” still do be done gets shorter and shorter.
Read More